Resources · Quickstart
Connect your first agent.
Seven steps, about five minutes. Your agent already speaks MCP — you're just pointing it at Meandr instead of at each tool server. No SDK, no code changes.
One thing to know first: the left menu is contextual. Open a project and it becomes that project's menu — Metrics, Inventory, Agents, Keys, Policies, Tasks, Traffic and Settings. The breadcrumb at the top shows where you are and takes you back out.
Create a project
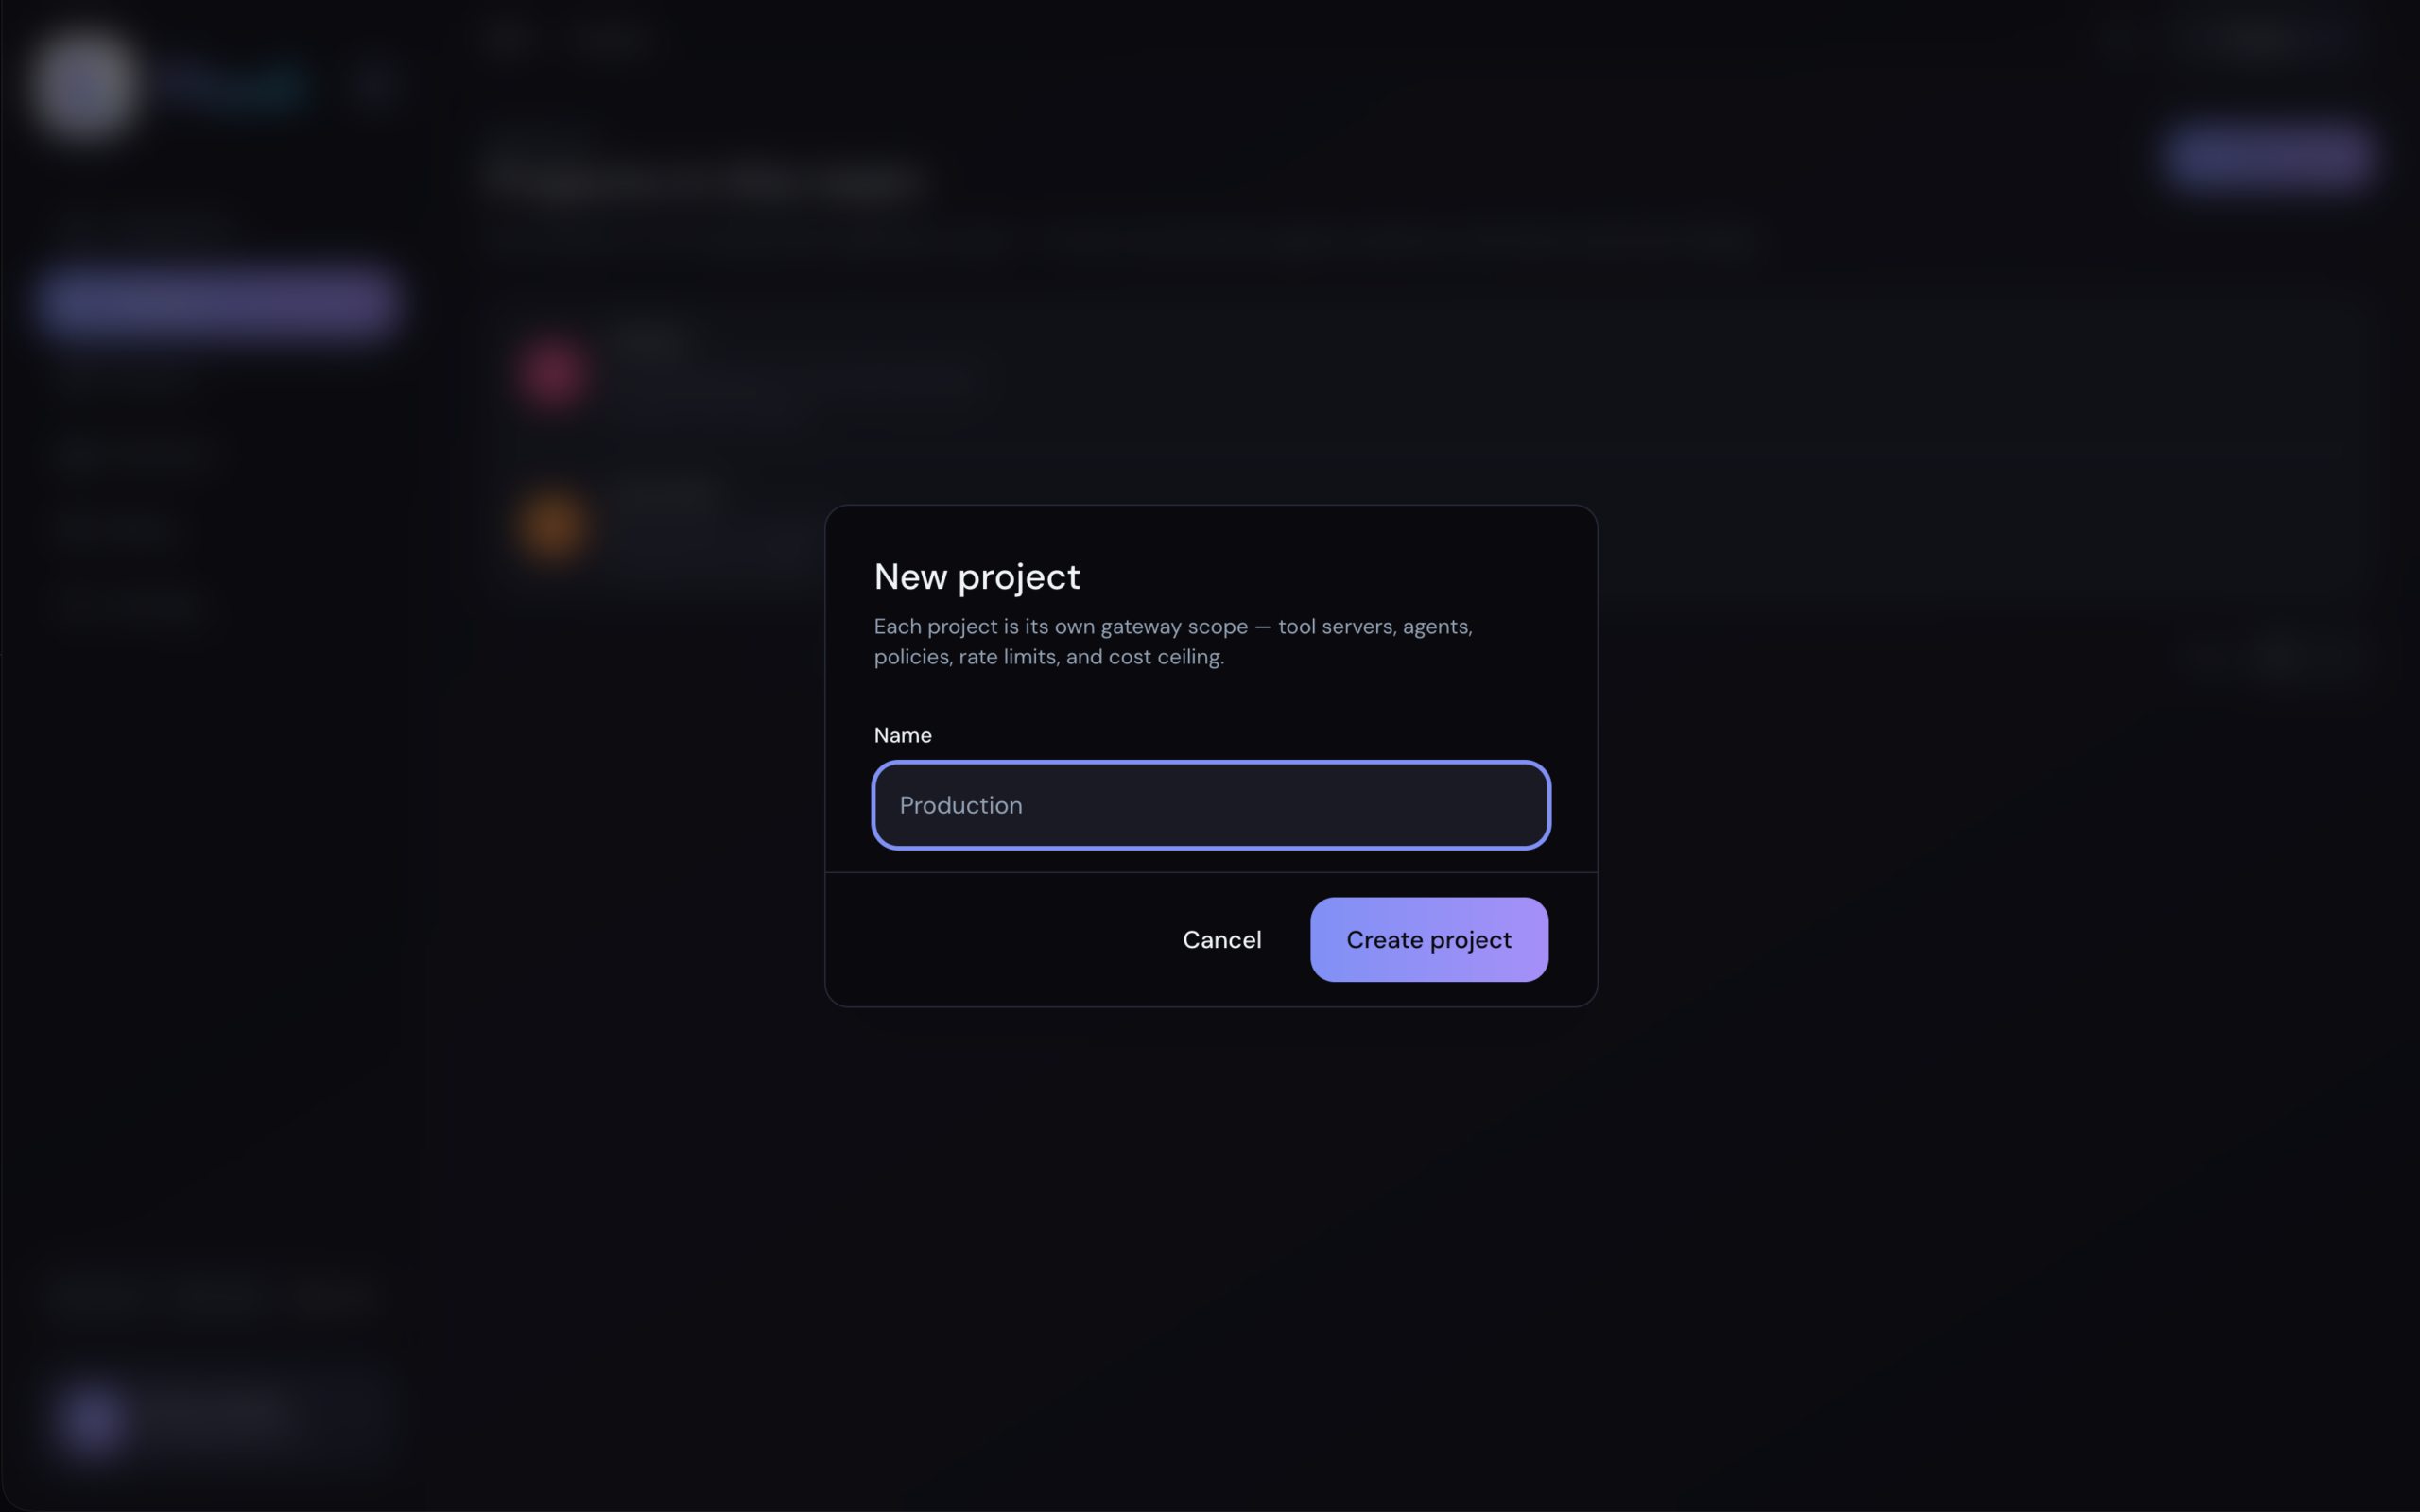
In the left menu, open Projects and click New project. Give it a name — say acme-dev — and create it. Everything else — servers, agents, rules — lives inside this project.
Meandr also gives the project its own MCP endpoint — the address your agents will call. Find it in the project's Settings, under Connection URL: it looks like https://<two-words>.meandr.io, and there's a Copy button next to it. Keep that tab open — you'll paste this into your client in step 4.
Create an agent
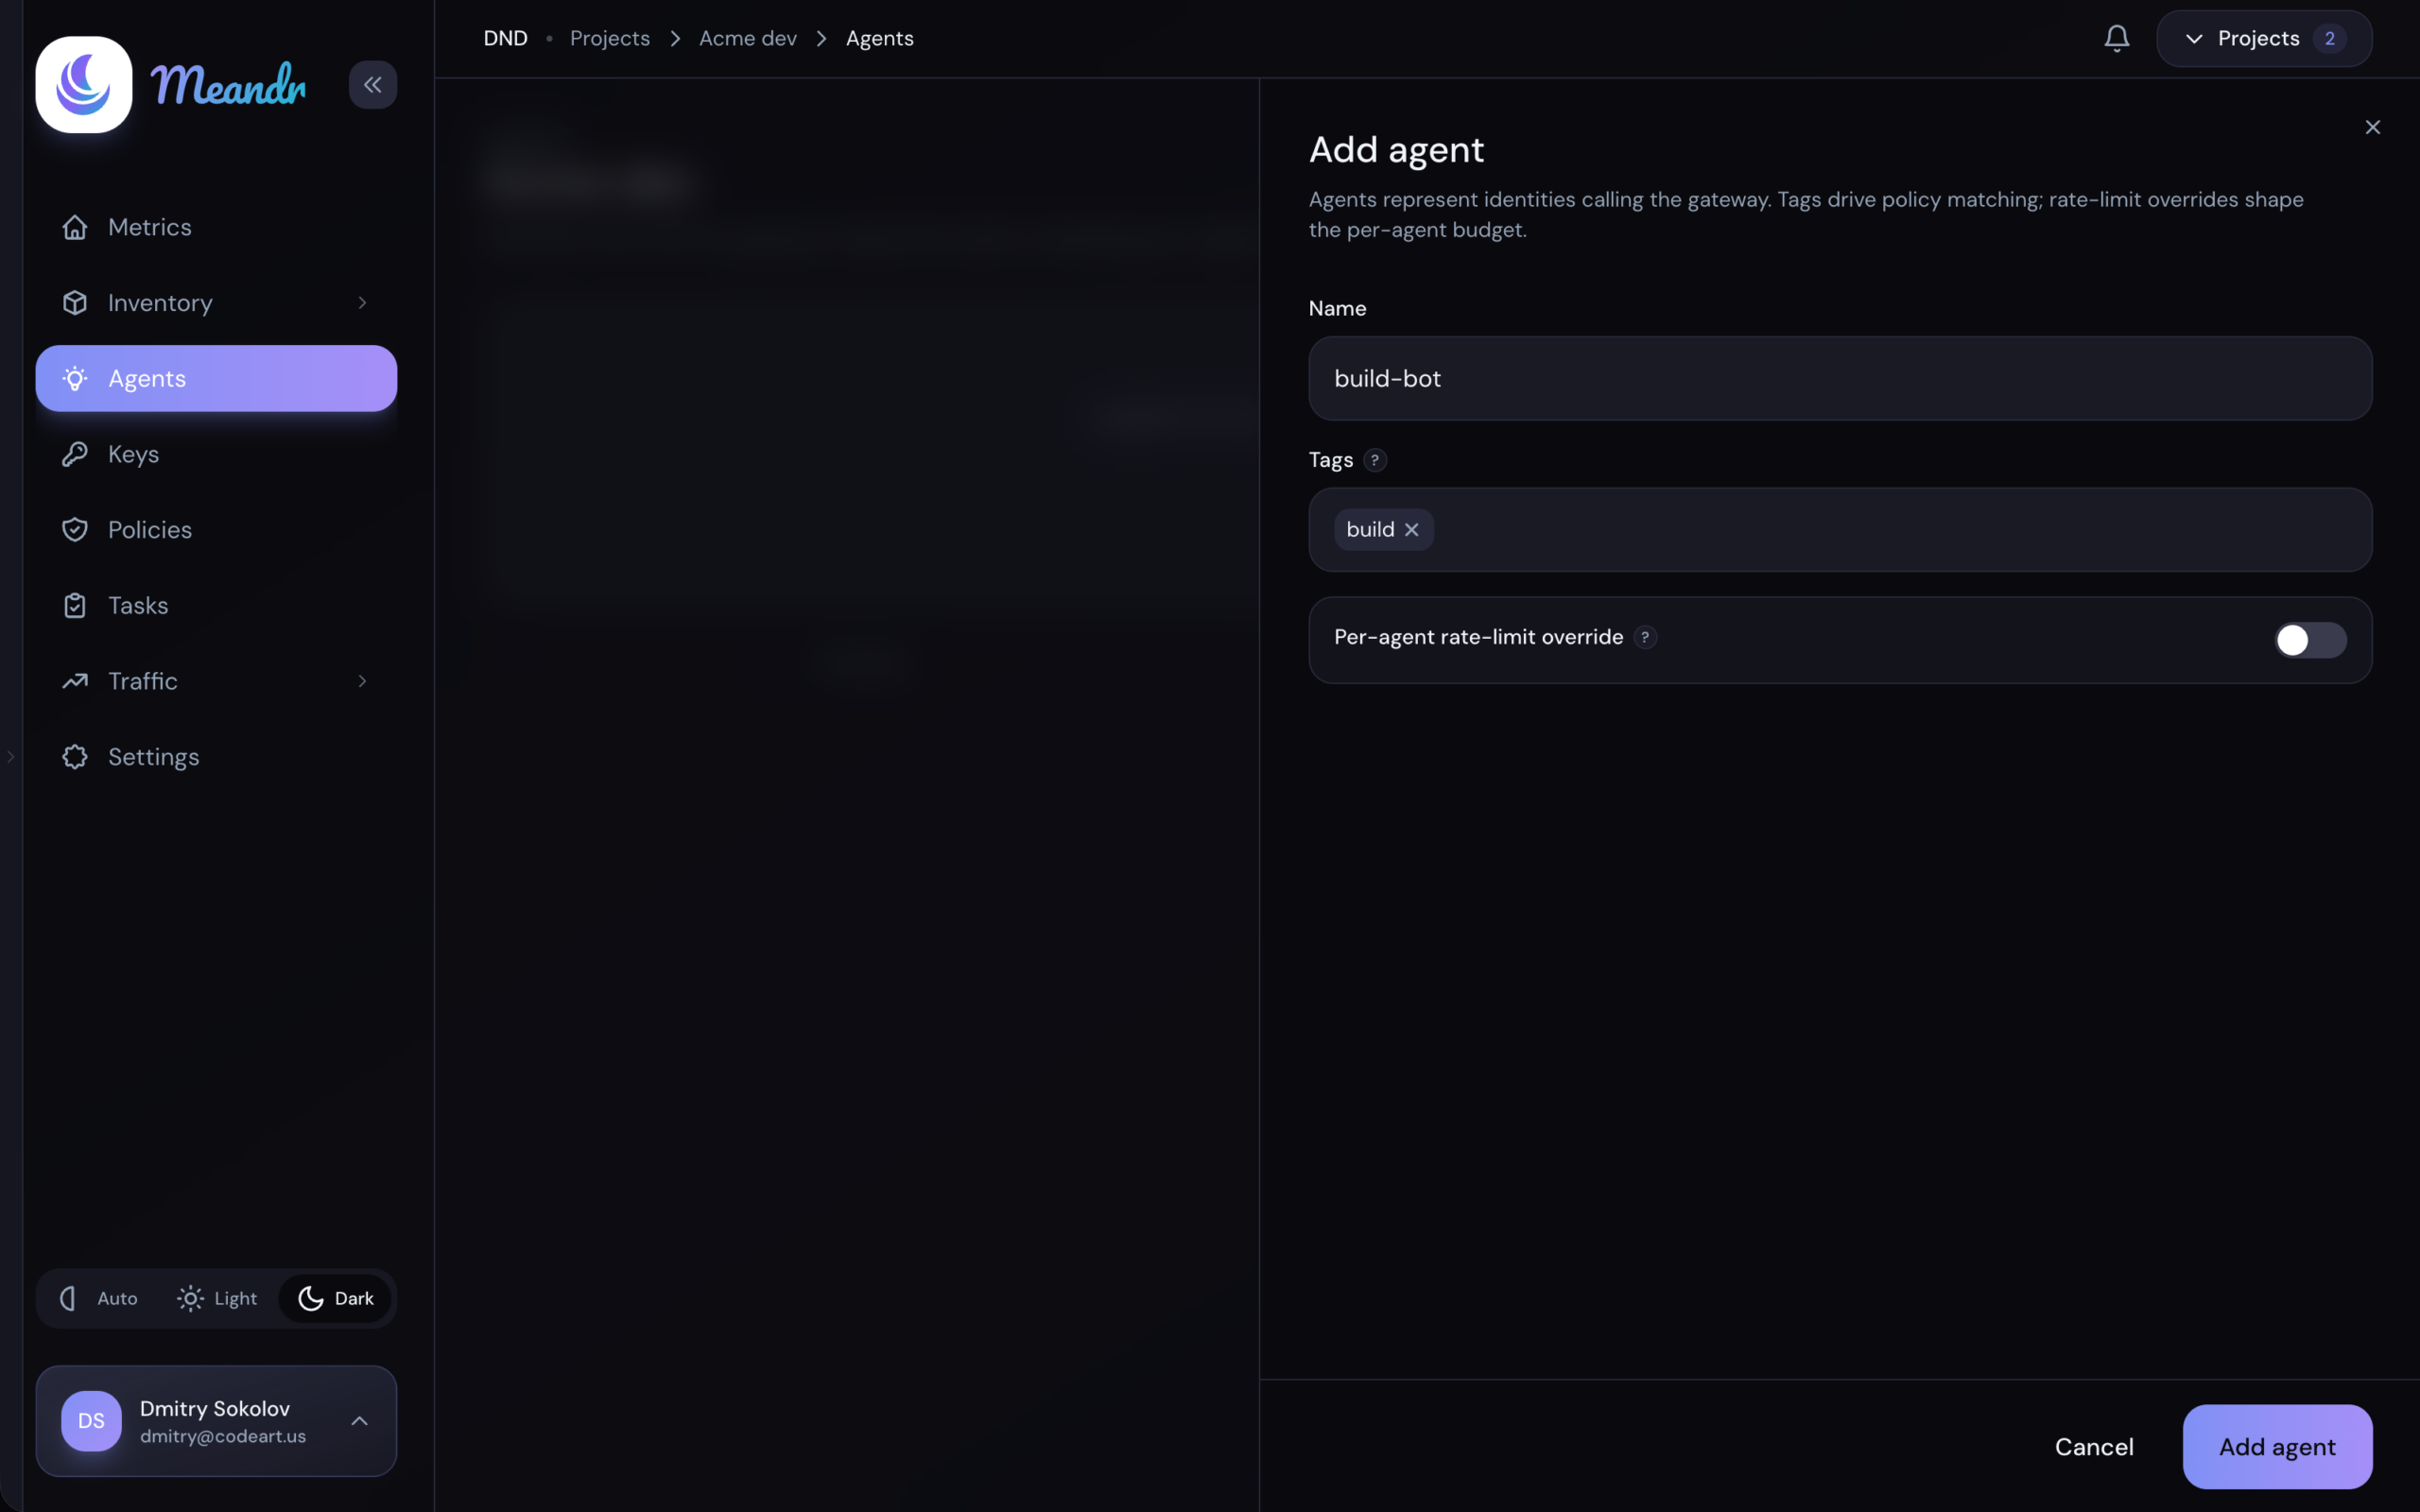
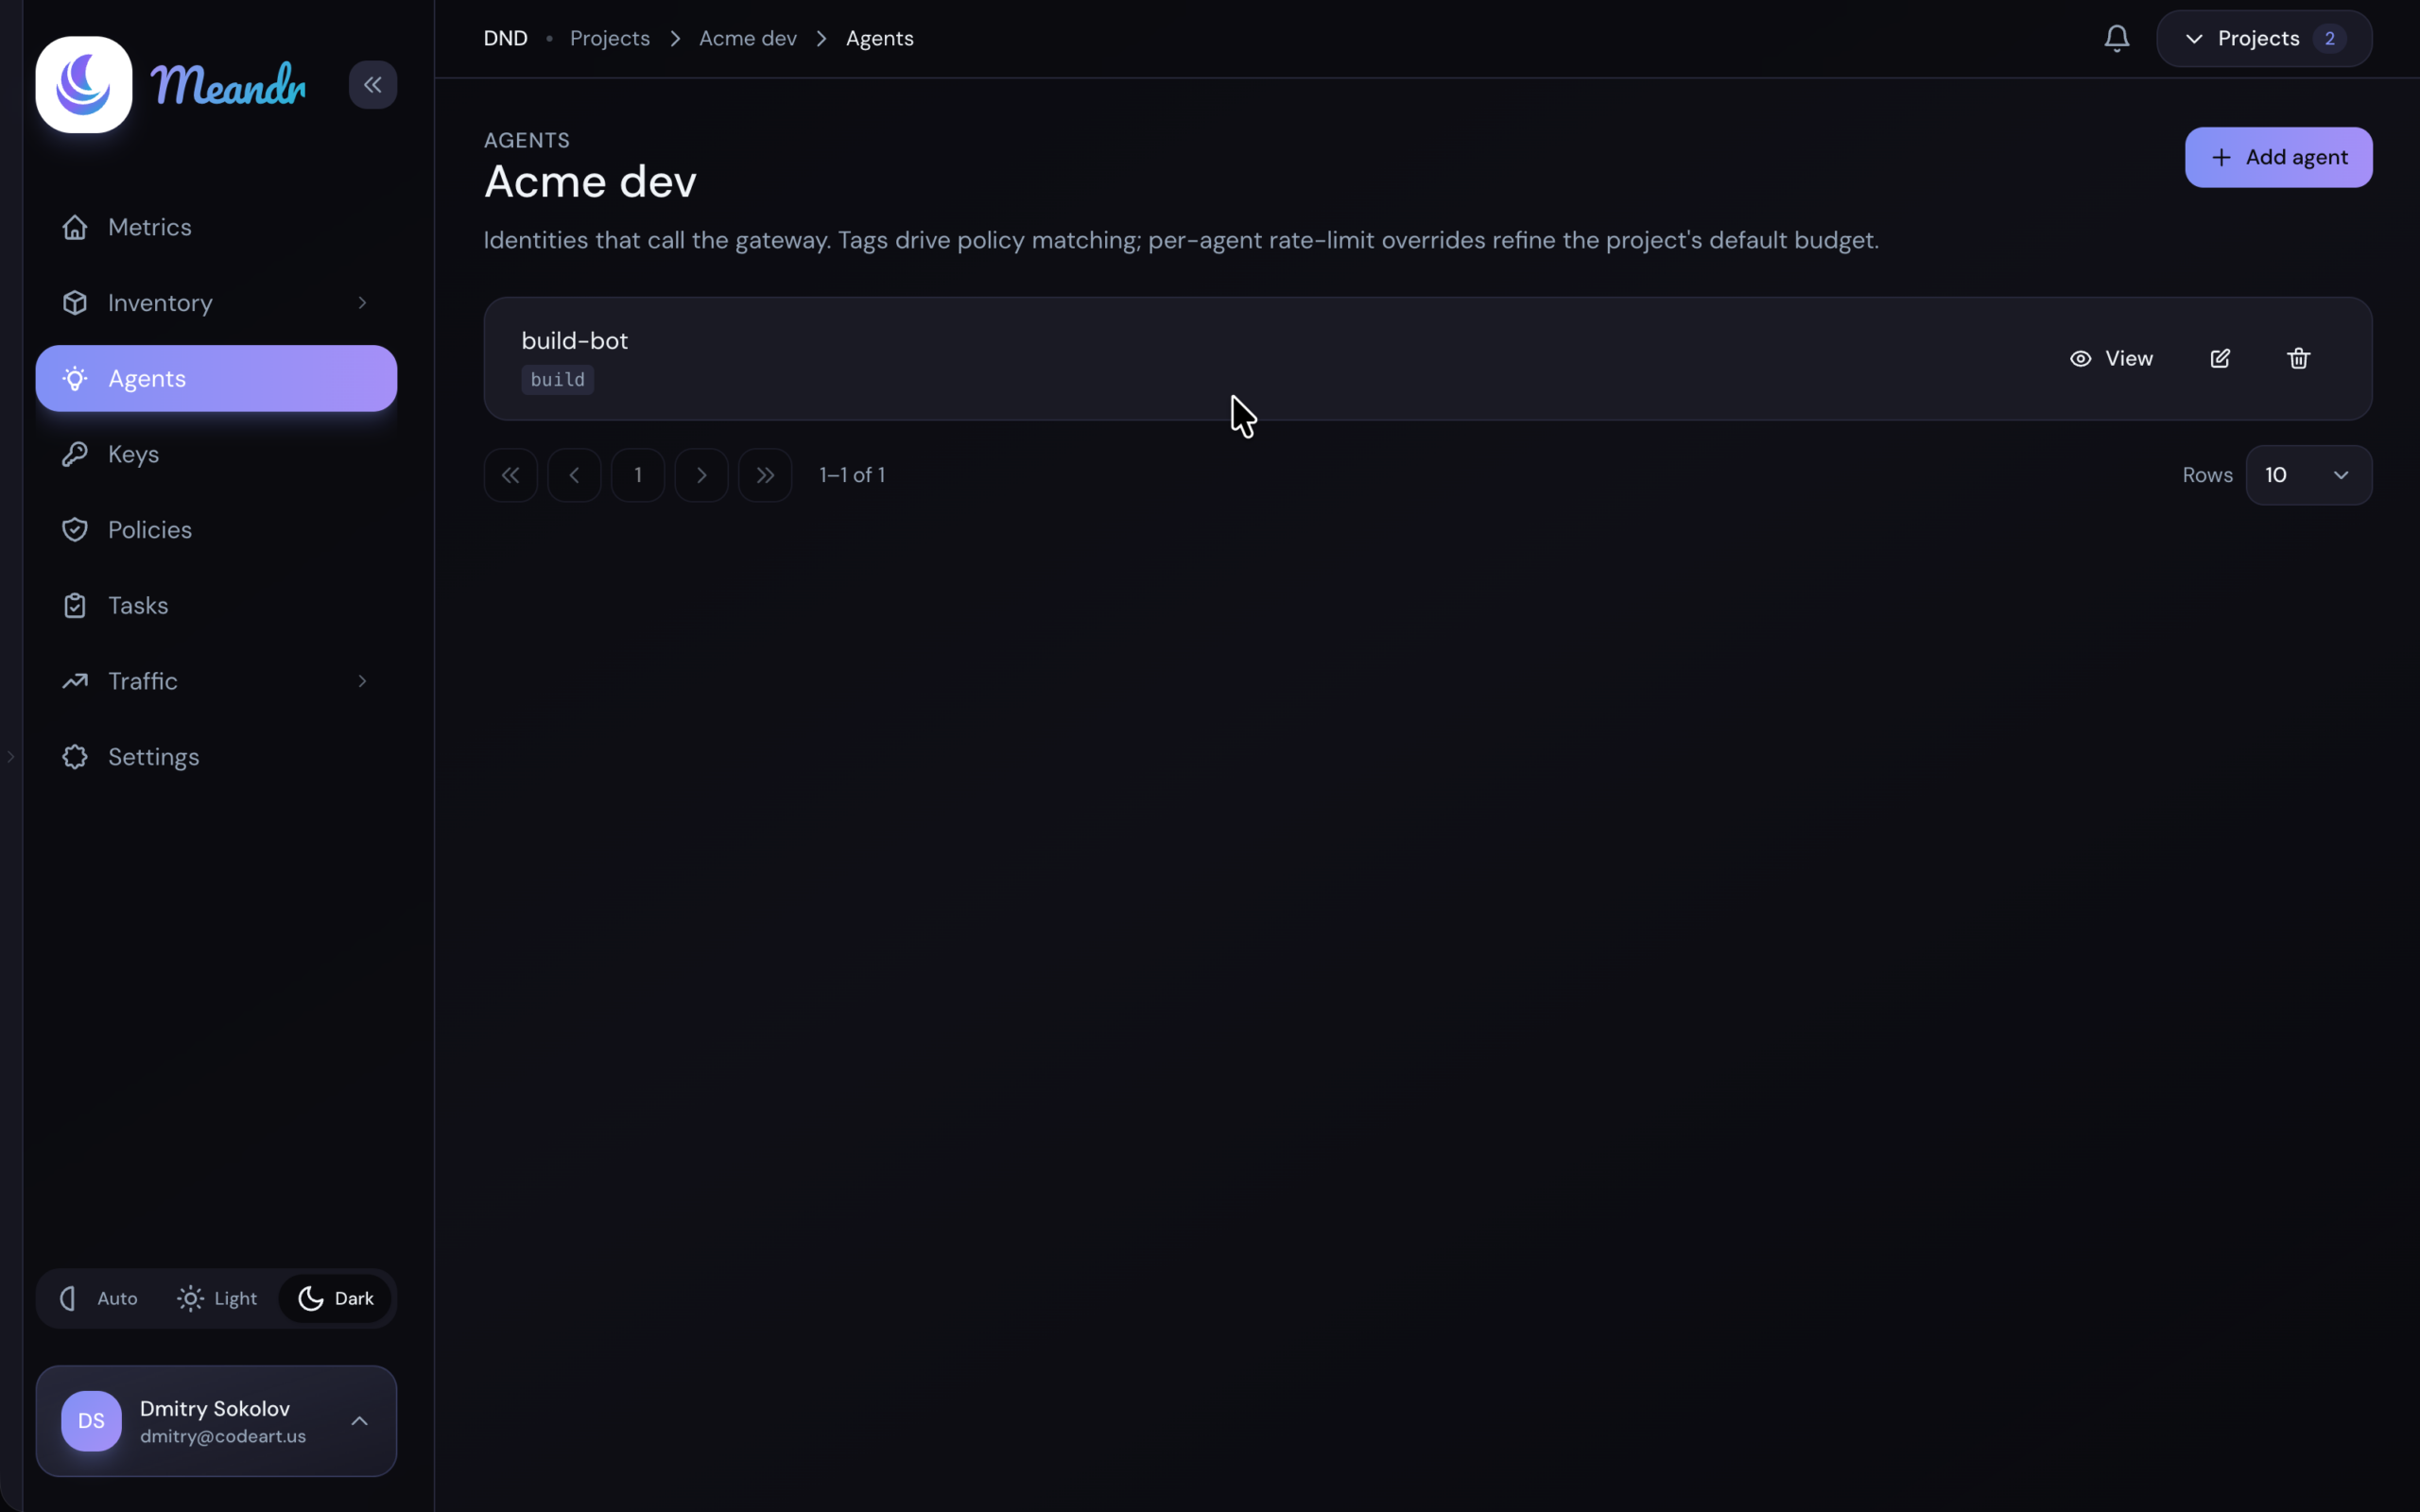
Open the project you just created, then pick Agents in the left menu and click Add agent. Give it a name you'll recognise in the logs, like build-bot. Tags are optional — your rules can match on them later. The agent is the identity; its key comes next.
Create its key
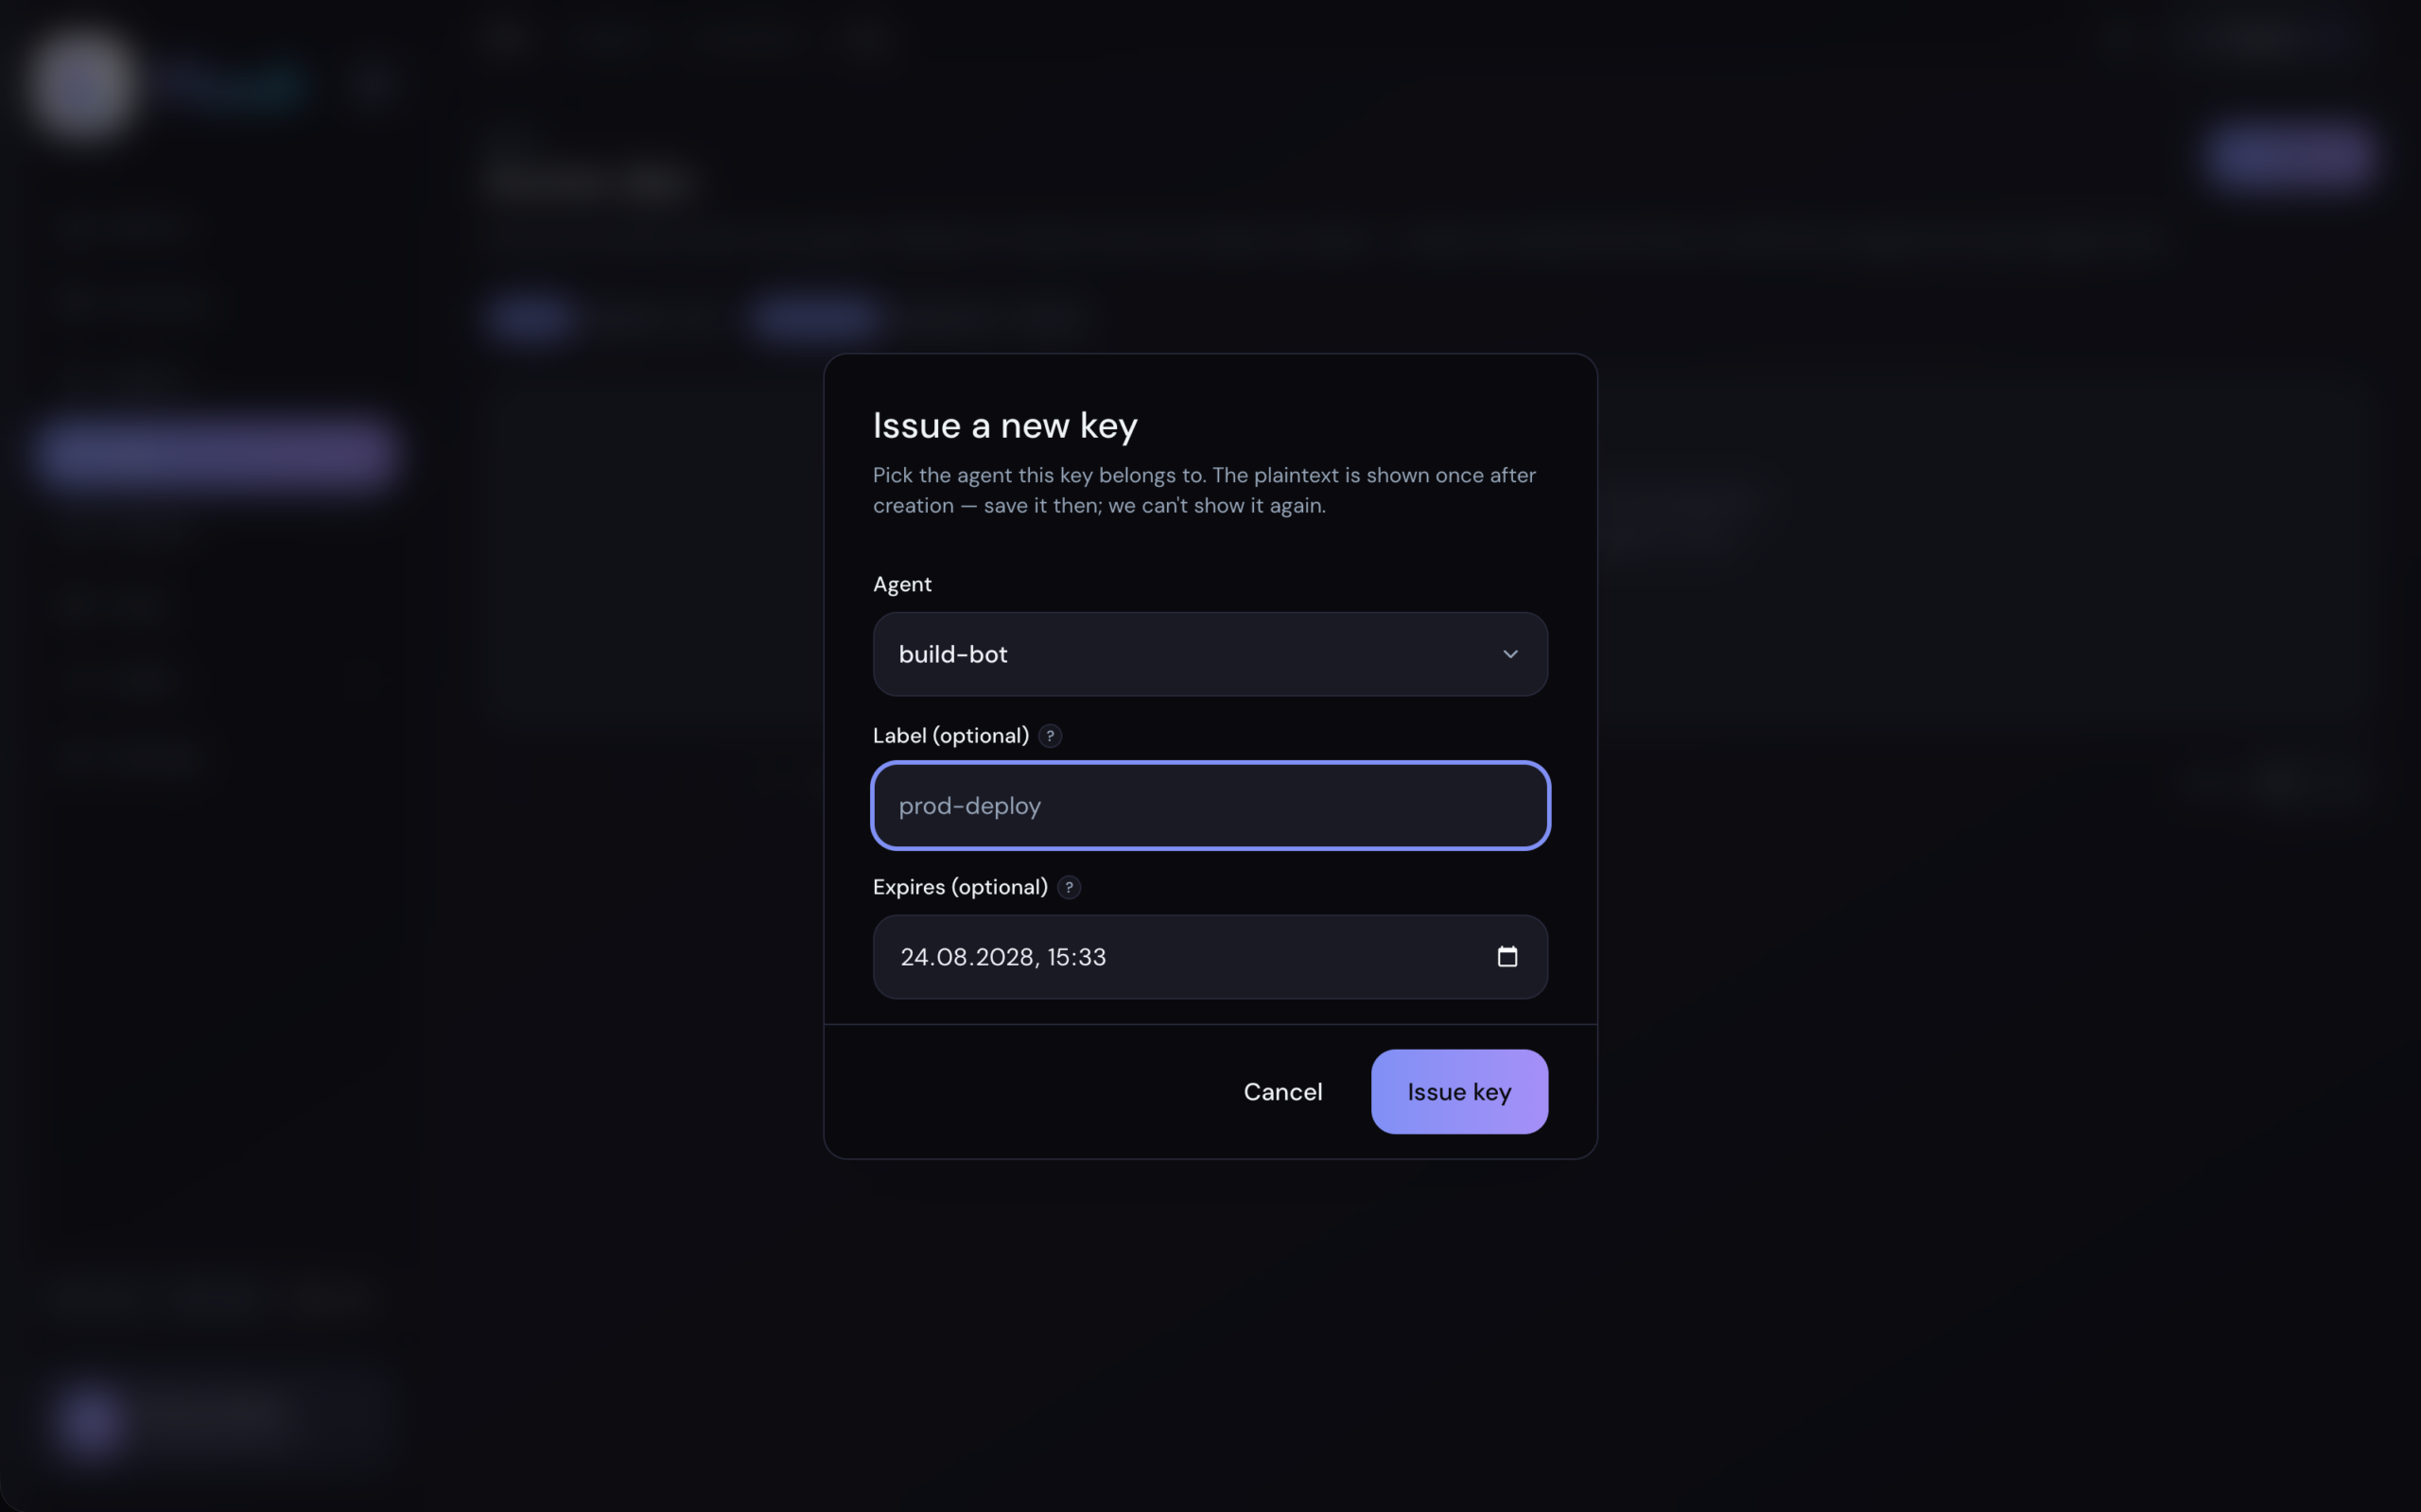
Still inside the project, open Keys in the left menu — it sits right next to Agents — and add a key, picking build-bot from the agent dropdown. A dialog then shows the full value, tok_…, under the heading Save this key now — and it means it. That dialog is the only time the plaintext is shown: copy it and put it wherever your agent reads its config. It can't be recovered afterwards, only rotated or revoked; the list from then on shows just the prefix.
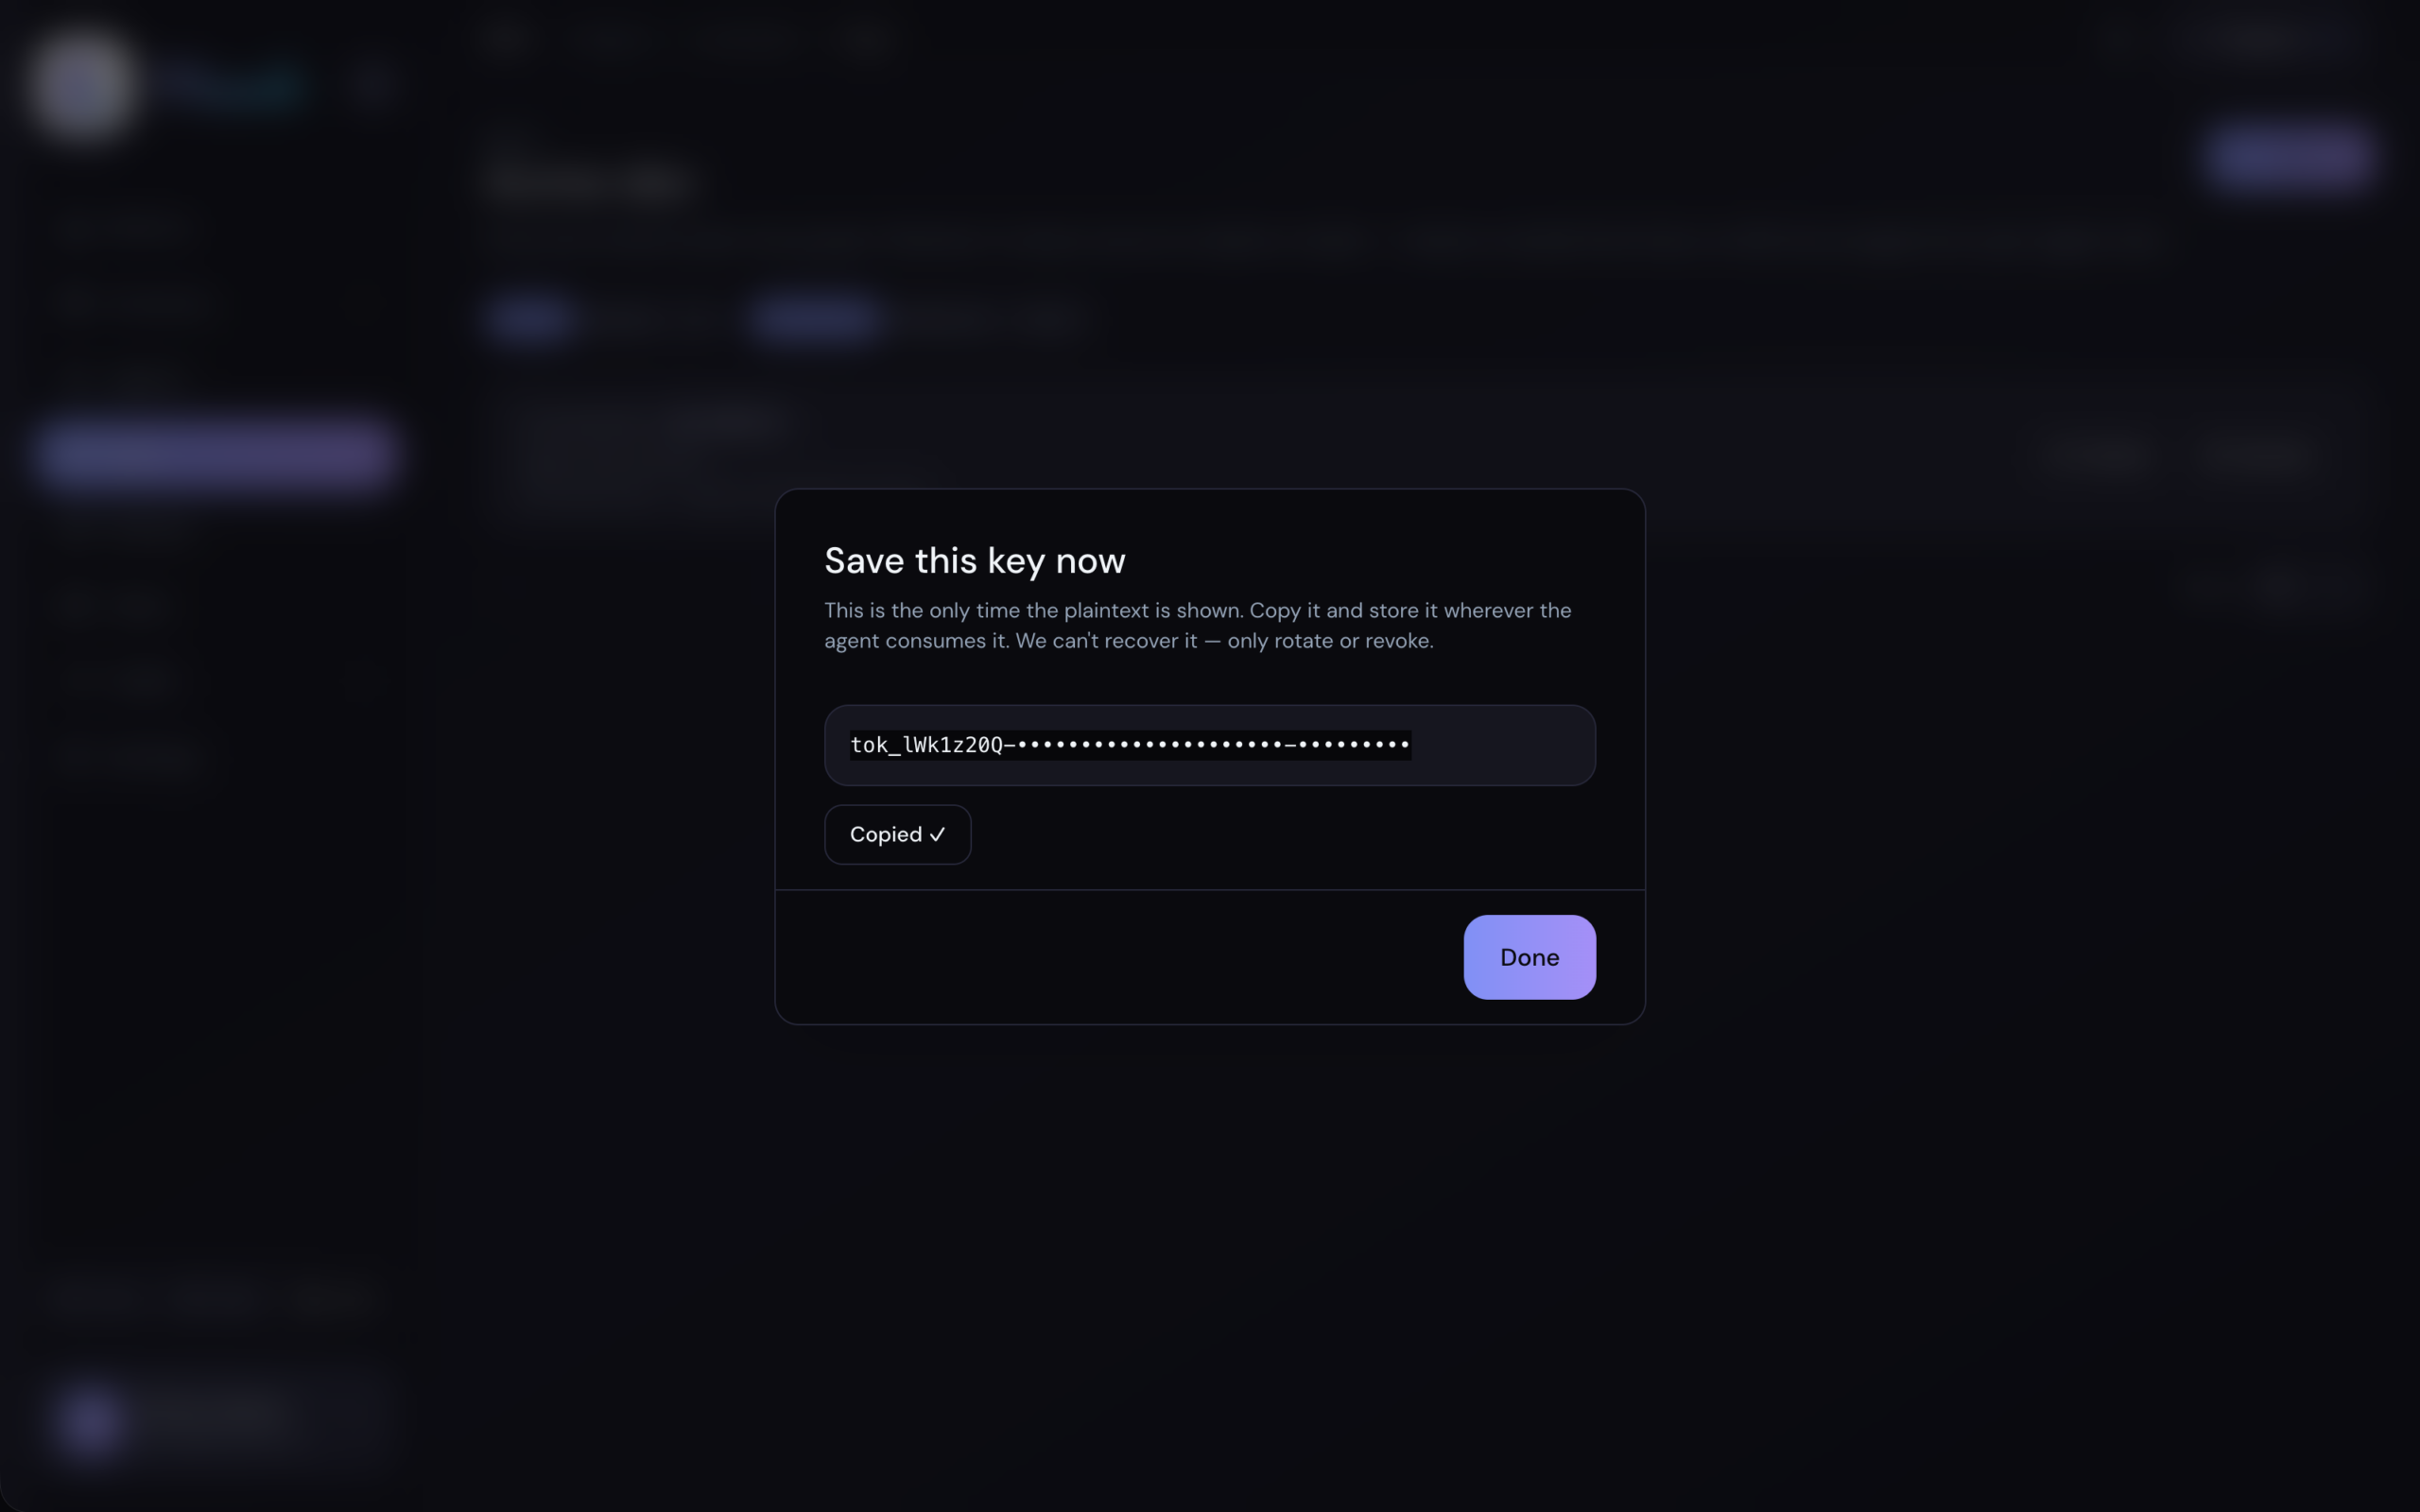
Closed the dialog too soon? The key can't be recovered — rotate it to get a fresh one, then update your client config. Revoking a key cuts that agent off immediately, and your upstream credentials are never touched either way.
Point your client at Meandr
Your client needs exactly two things from Meandr: the project endpoint — https://<your-slug>.meandr.io/ — and the key you just copied, sent as an Authorization: Bearer tok_… header. Meandr speaks standard MCP over HTTP, so any client that supports a remote MCP server with custom headers will do. Most of them take it as JSON like this:
{
  "mcpServers": {
    "meandr": {
      "type": "http",
      "url": "https://<your-slug>.meandr.io/",
      "headers": {
        "Authorization": "Bearer tok_<your-key>"
      }
    }
  }
}
Where that JSON goes depends on your client — a config file it reads, or a form in its settings. Two things trip people up: keep "type": "http" (clients that default to local stdio will otherwise try to run it as a command), and make sure the header is sent on every request, not just the first.
Using Claude Code? One command does it: claude mcp add --transport http meandr https://<your-slug>.meandr.io/ --header "Authorization: Bearer tok_…" — then claude mcp list should show Meandr as connected.
Give it something to call
Your agent is connected, but it has nothing to call yet. In the project menu open Inventory → Servers. Servers are registered once for the whole team, then each project opts in to the ones it needs — so you have two buttons here:
Attach server picks one that's already in the team catalog — that's the usual case, and it's where you choose how its rate limits aggregate. Create server registers a brand-new one: its URL and how Meandr signs in to it — an API key, basic auth, or AWS SigV4. Either way, the tools it offers land in Inventory → Tools, where you pick what your agents may actually use.
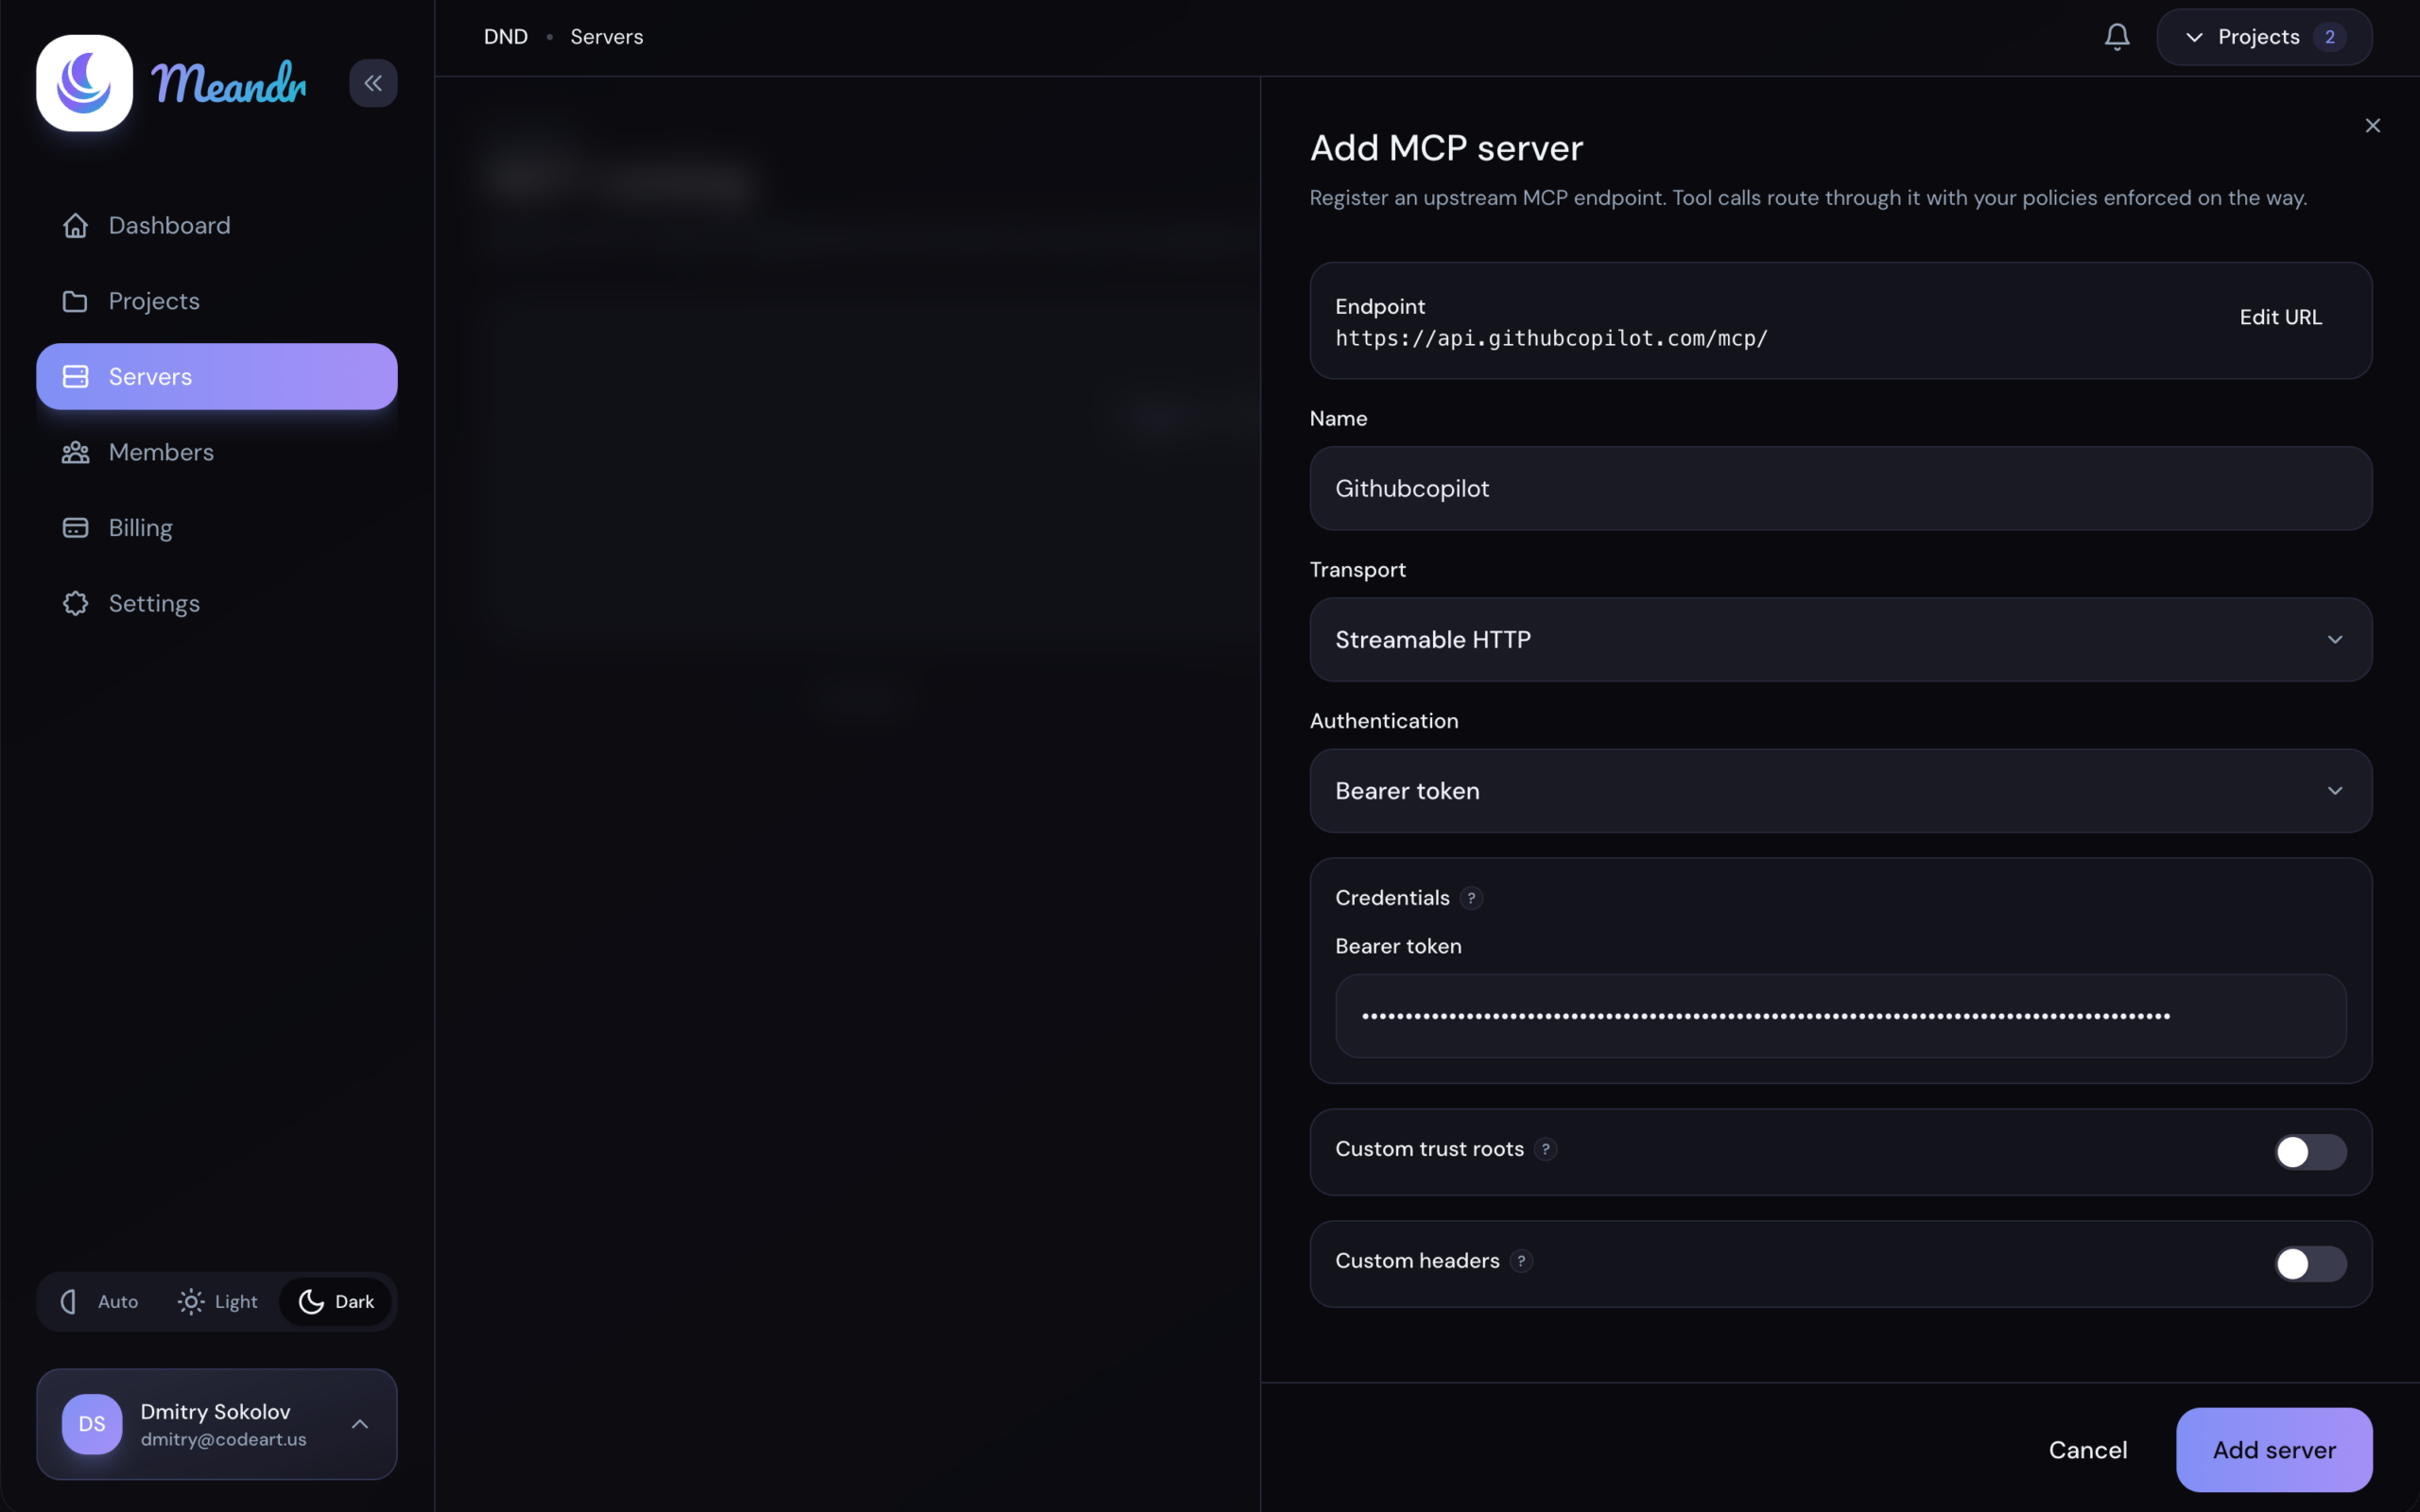
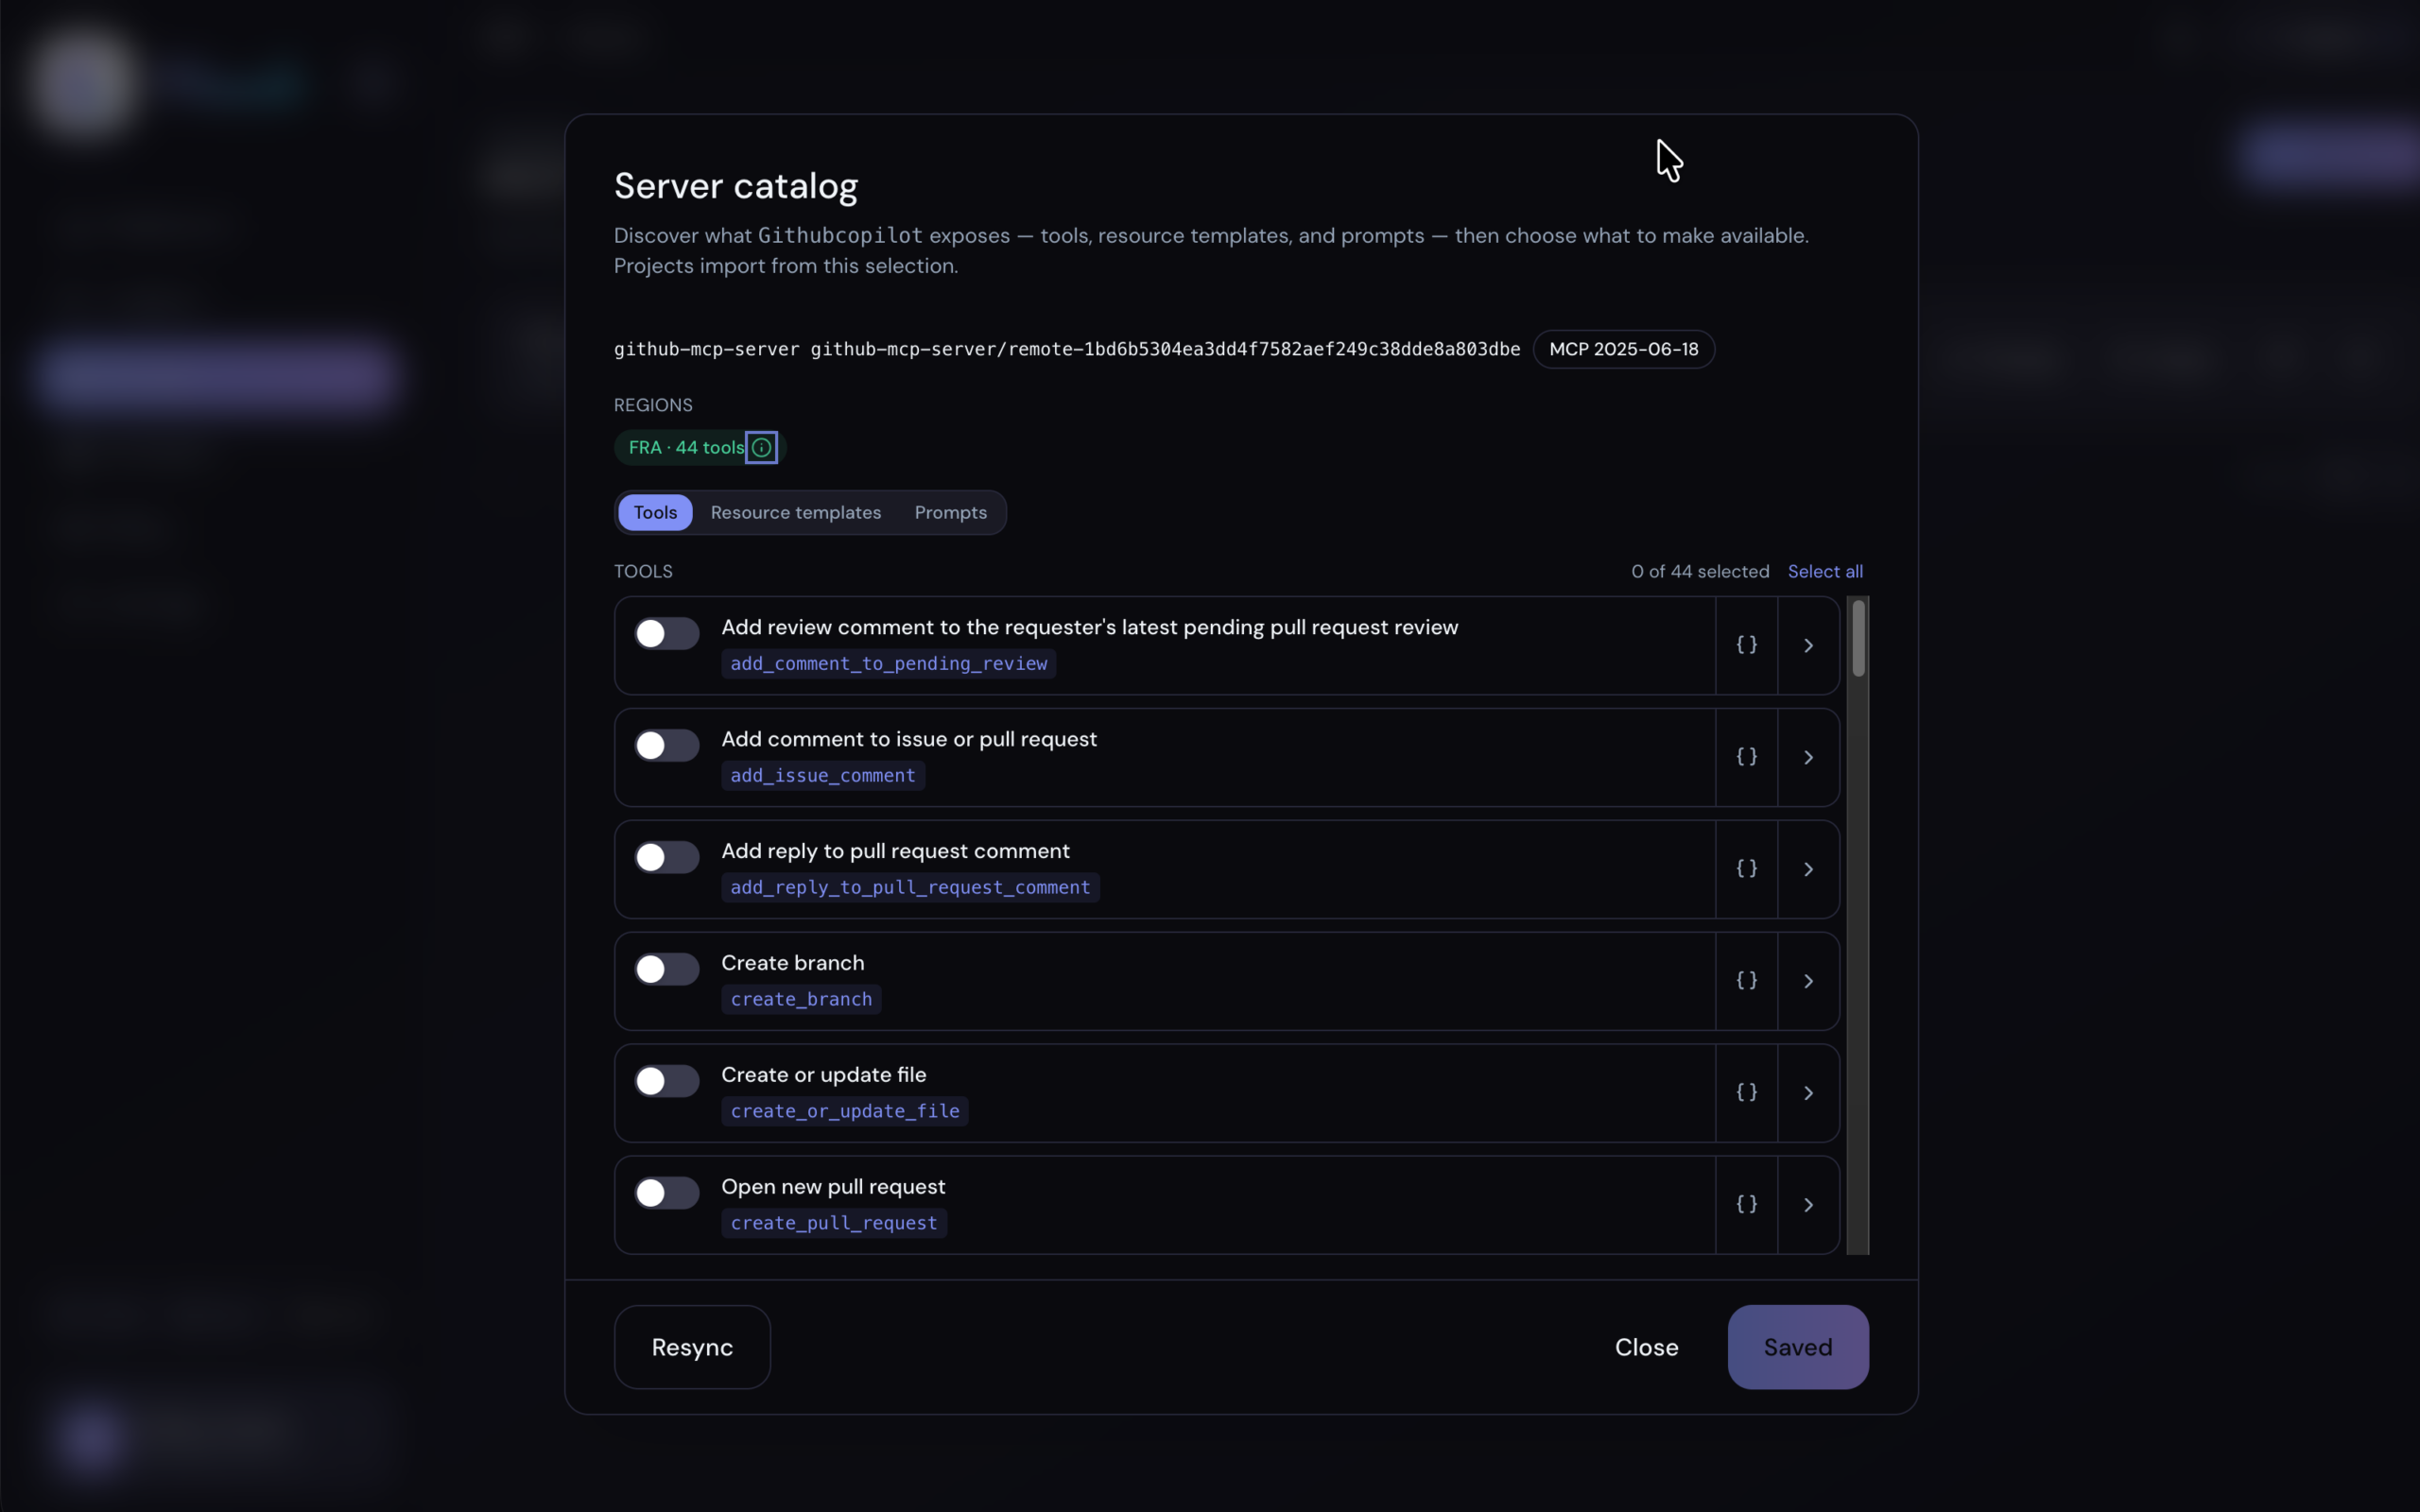
As soon as the server is registered its catalog opens, listing everything it exposes with a switch on each — and the read-only tags the server declares about itself. Turn on the handful your agents actually need and save; a project can only import from what's switched on here.
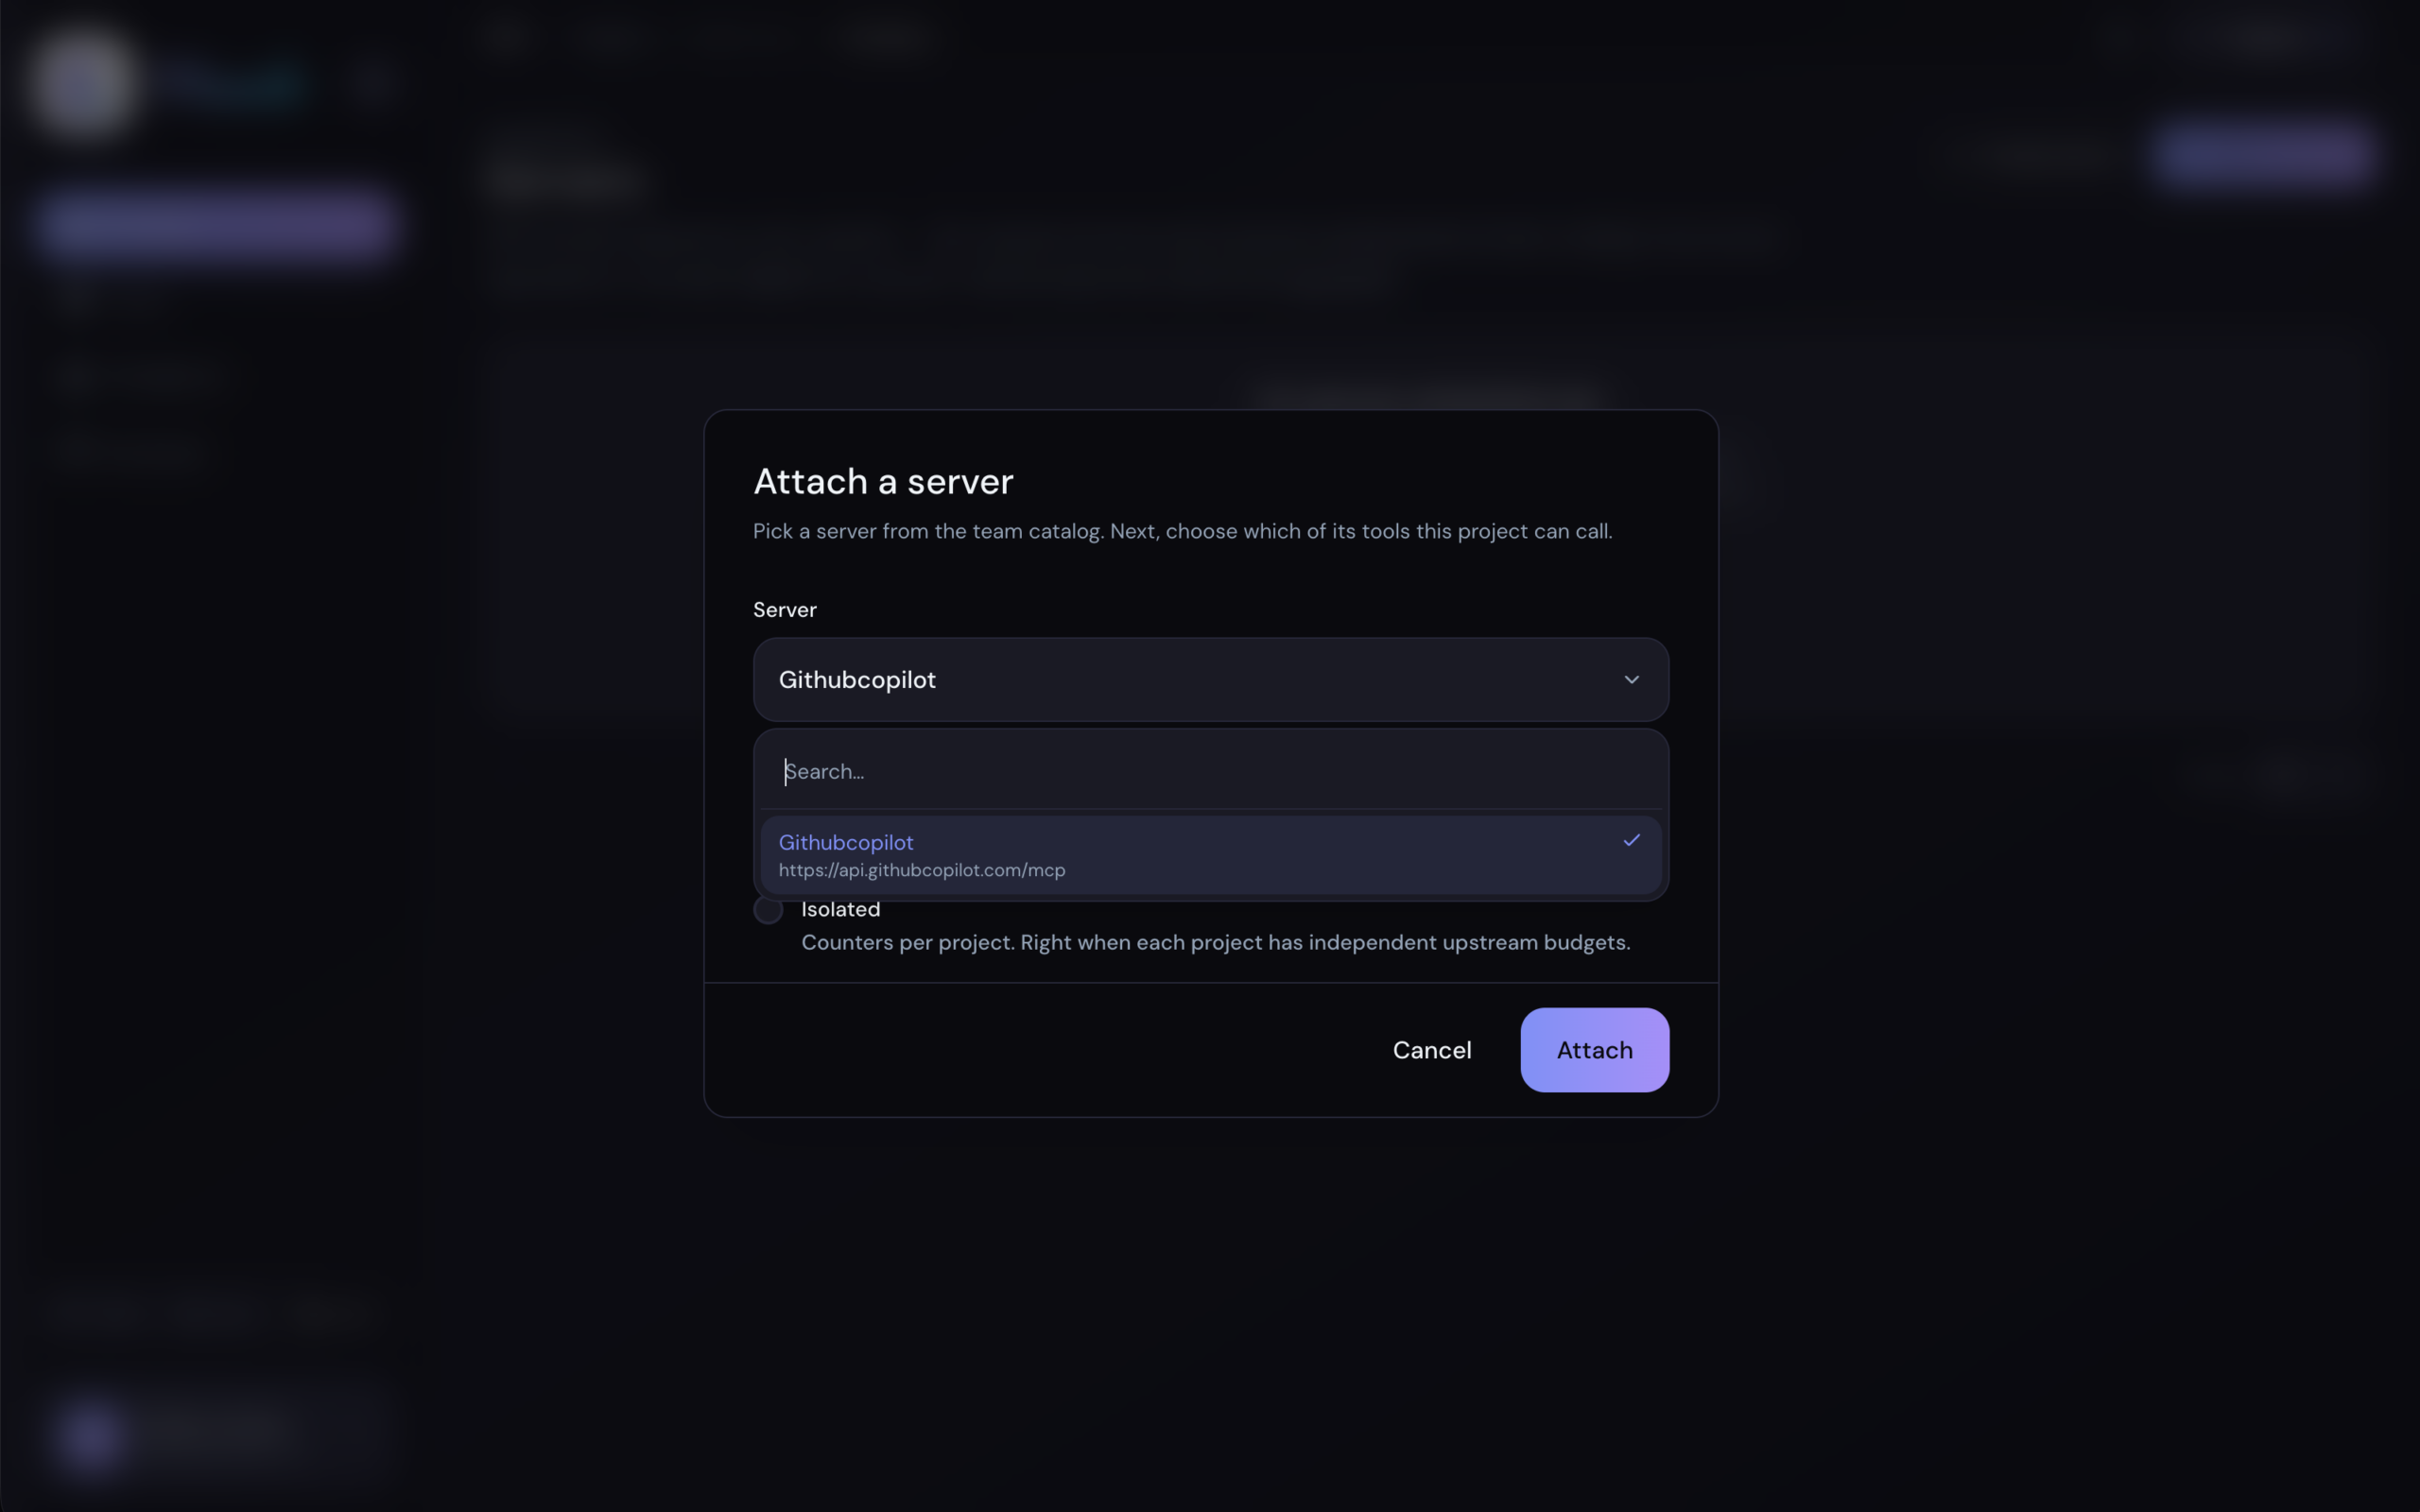
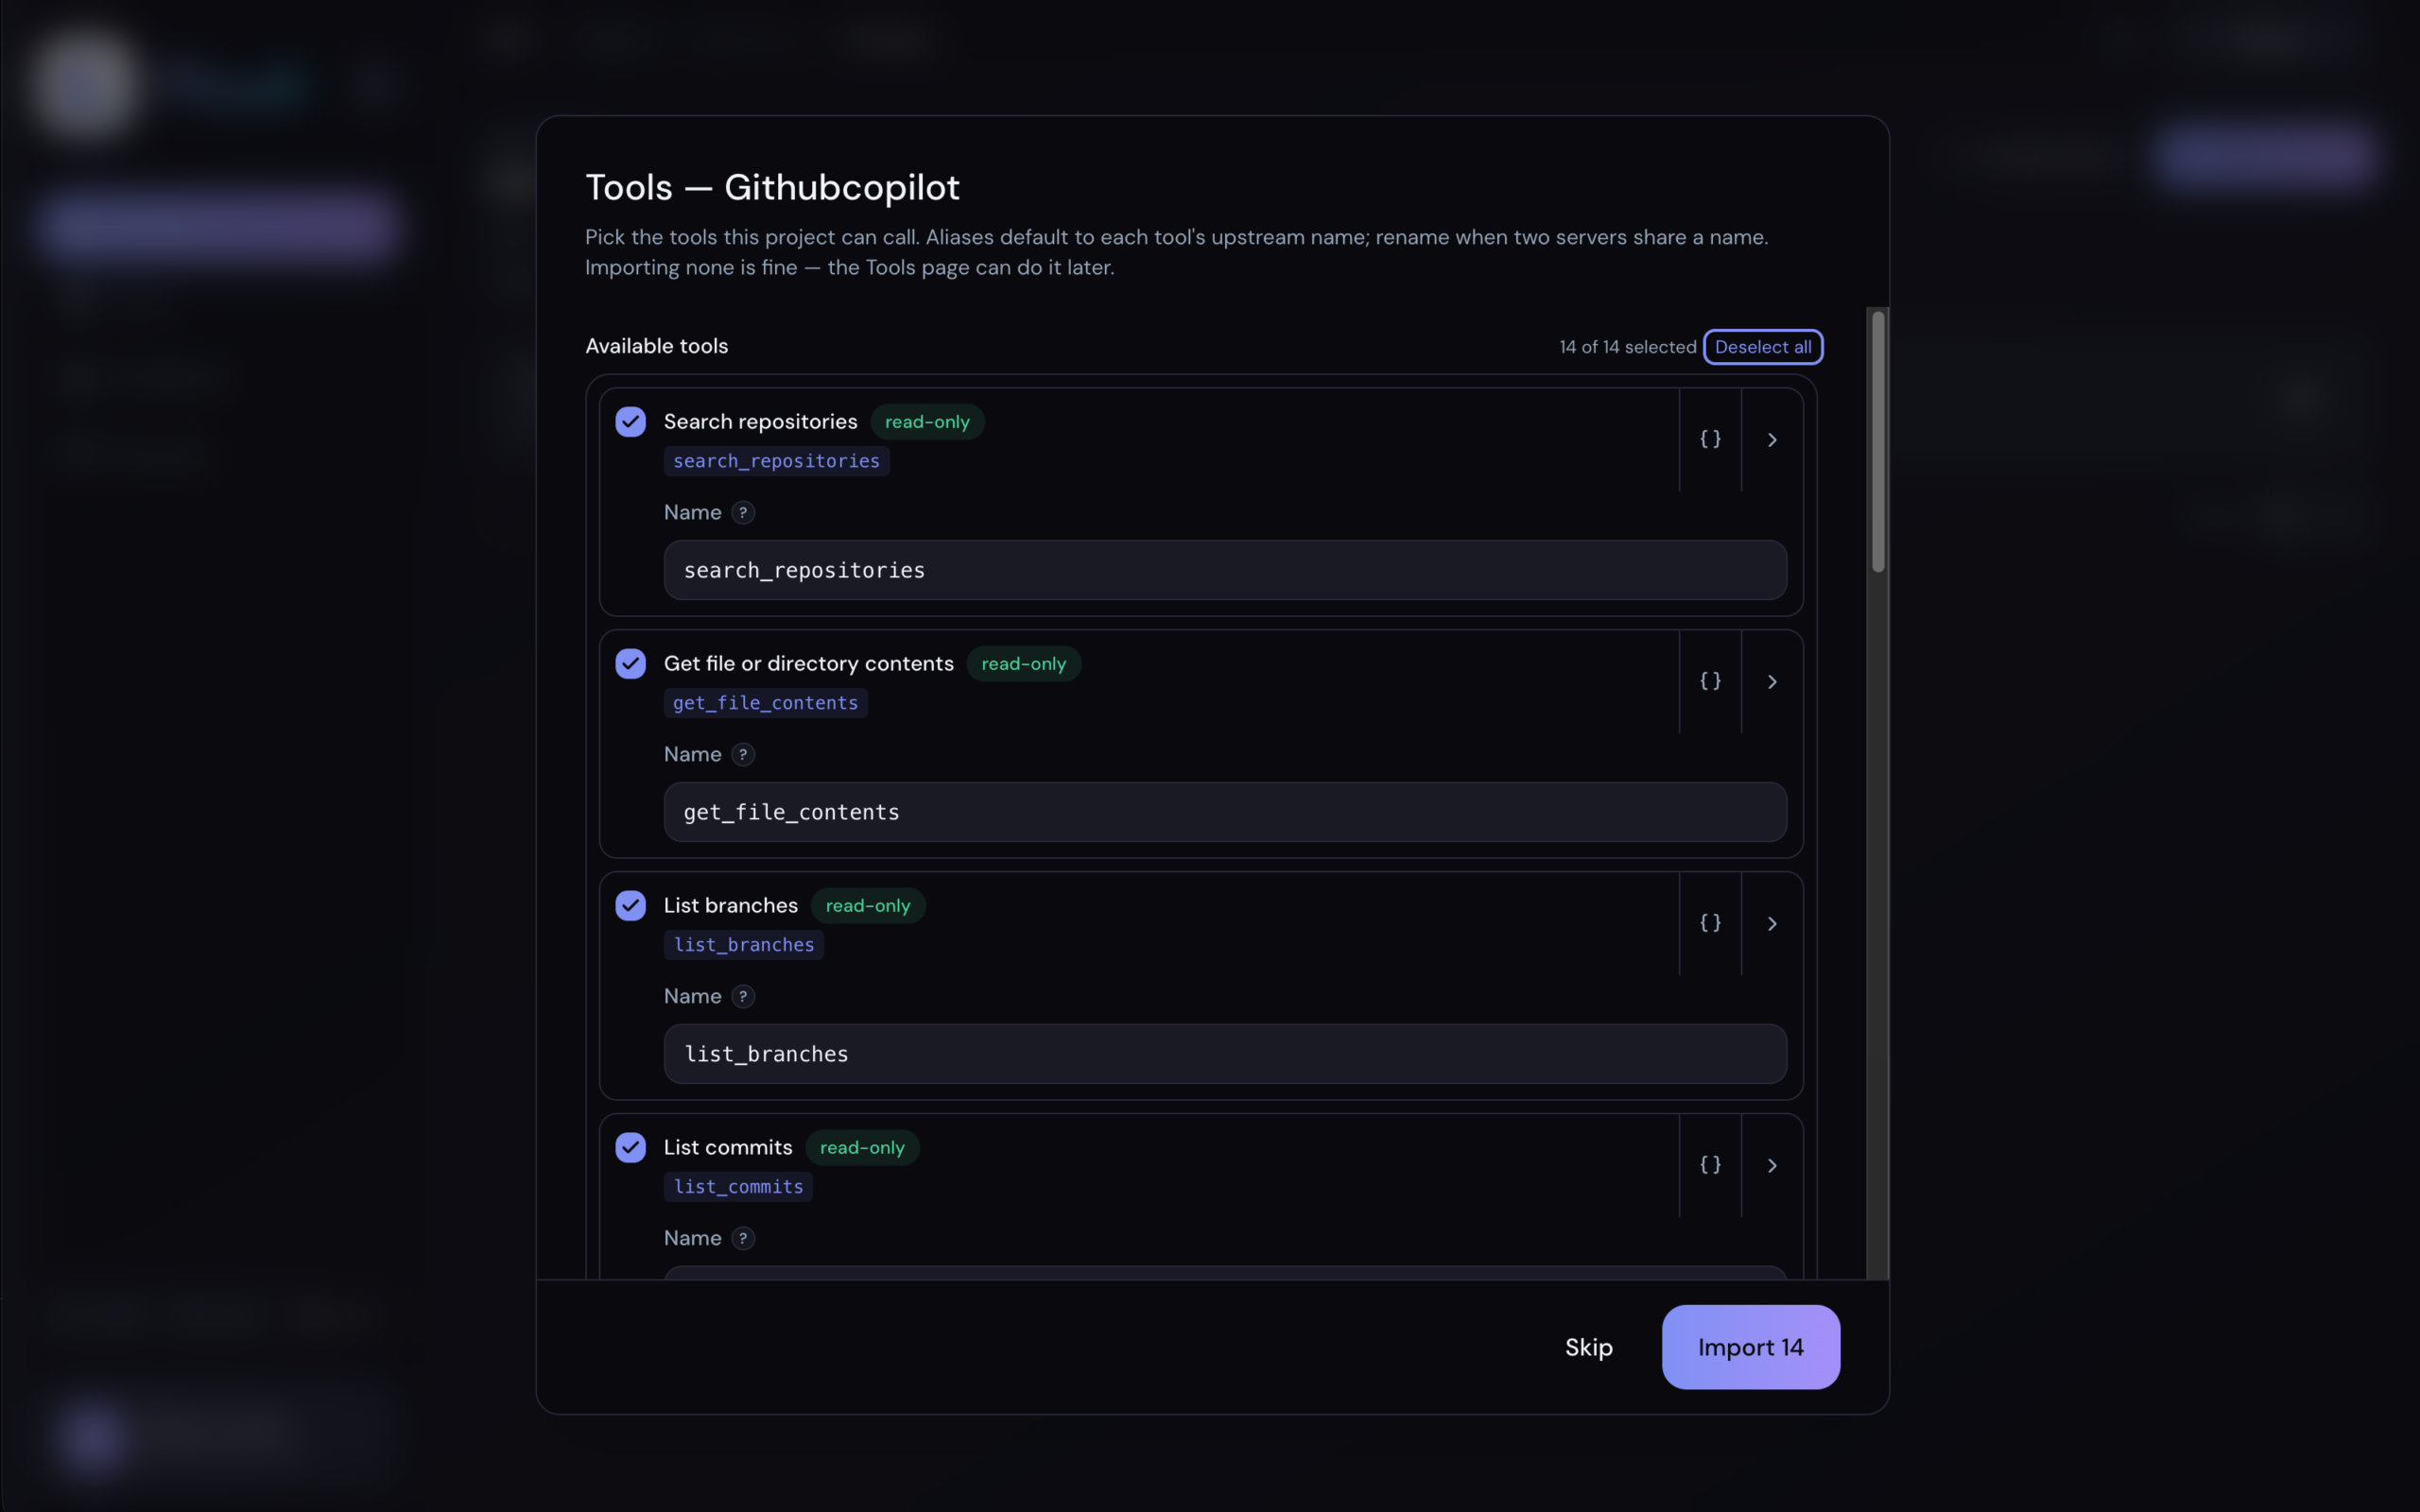
Back in the project, attach that server. A second dialog follows — Pick the tools this project can call — and this is the choice your agents actually see: available to the team is not the same as available here. Each tool keeps its upstream name by default; rename it only if two servers use the same one. Importing nothing now is fine too — the Tools page can do it later.
Connecting several servers, or one with fiddly auth? The full guide covers every auth method and how curation works
Let the agent see them
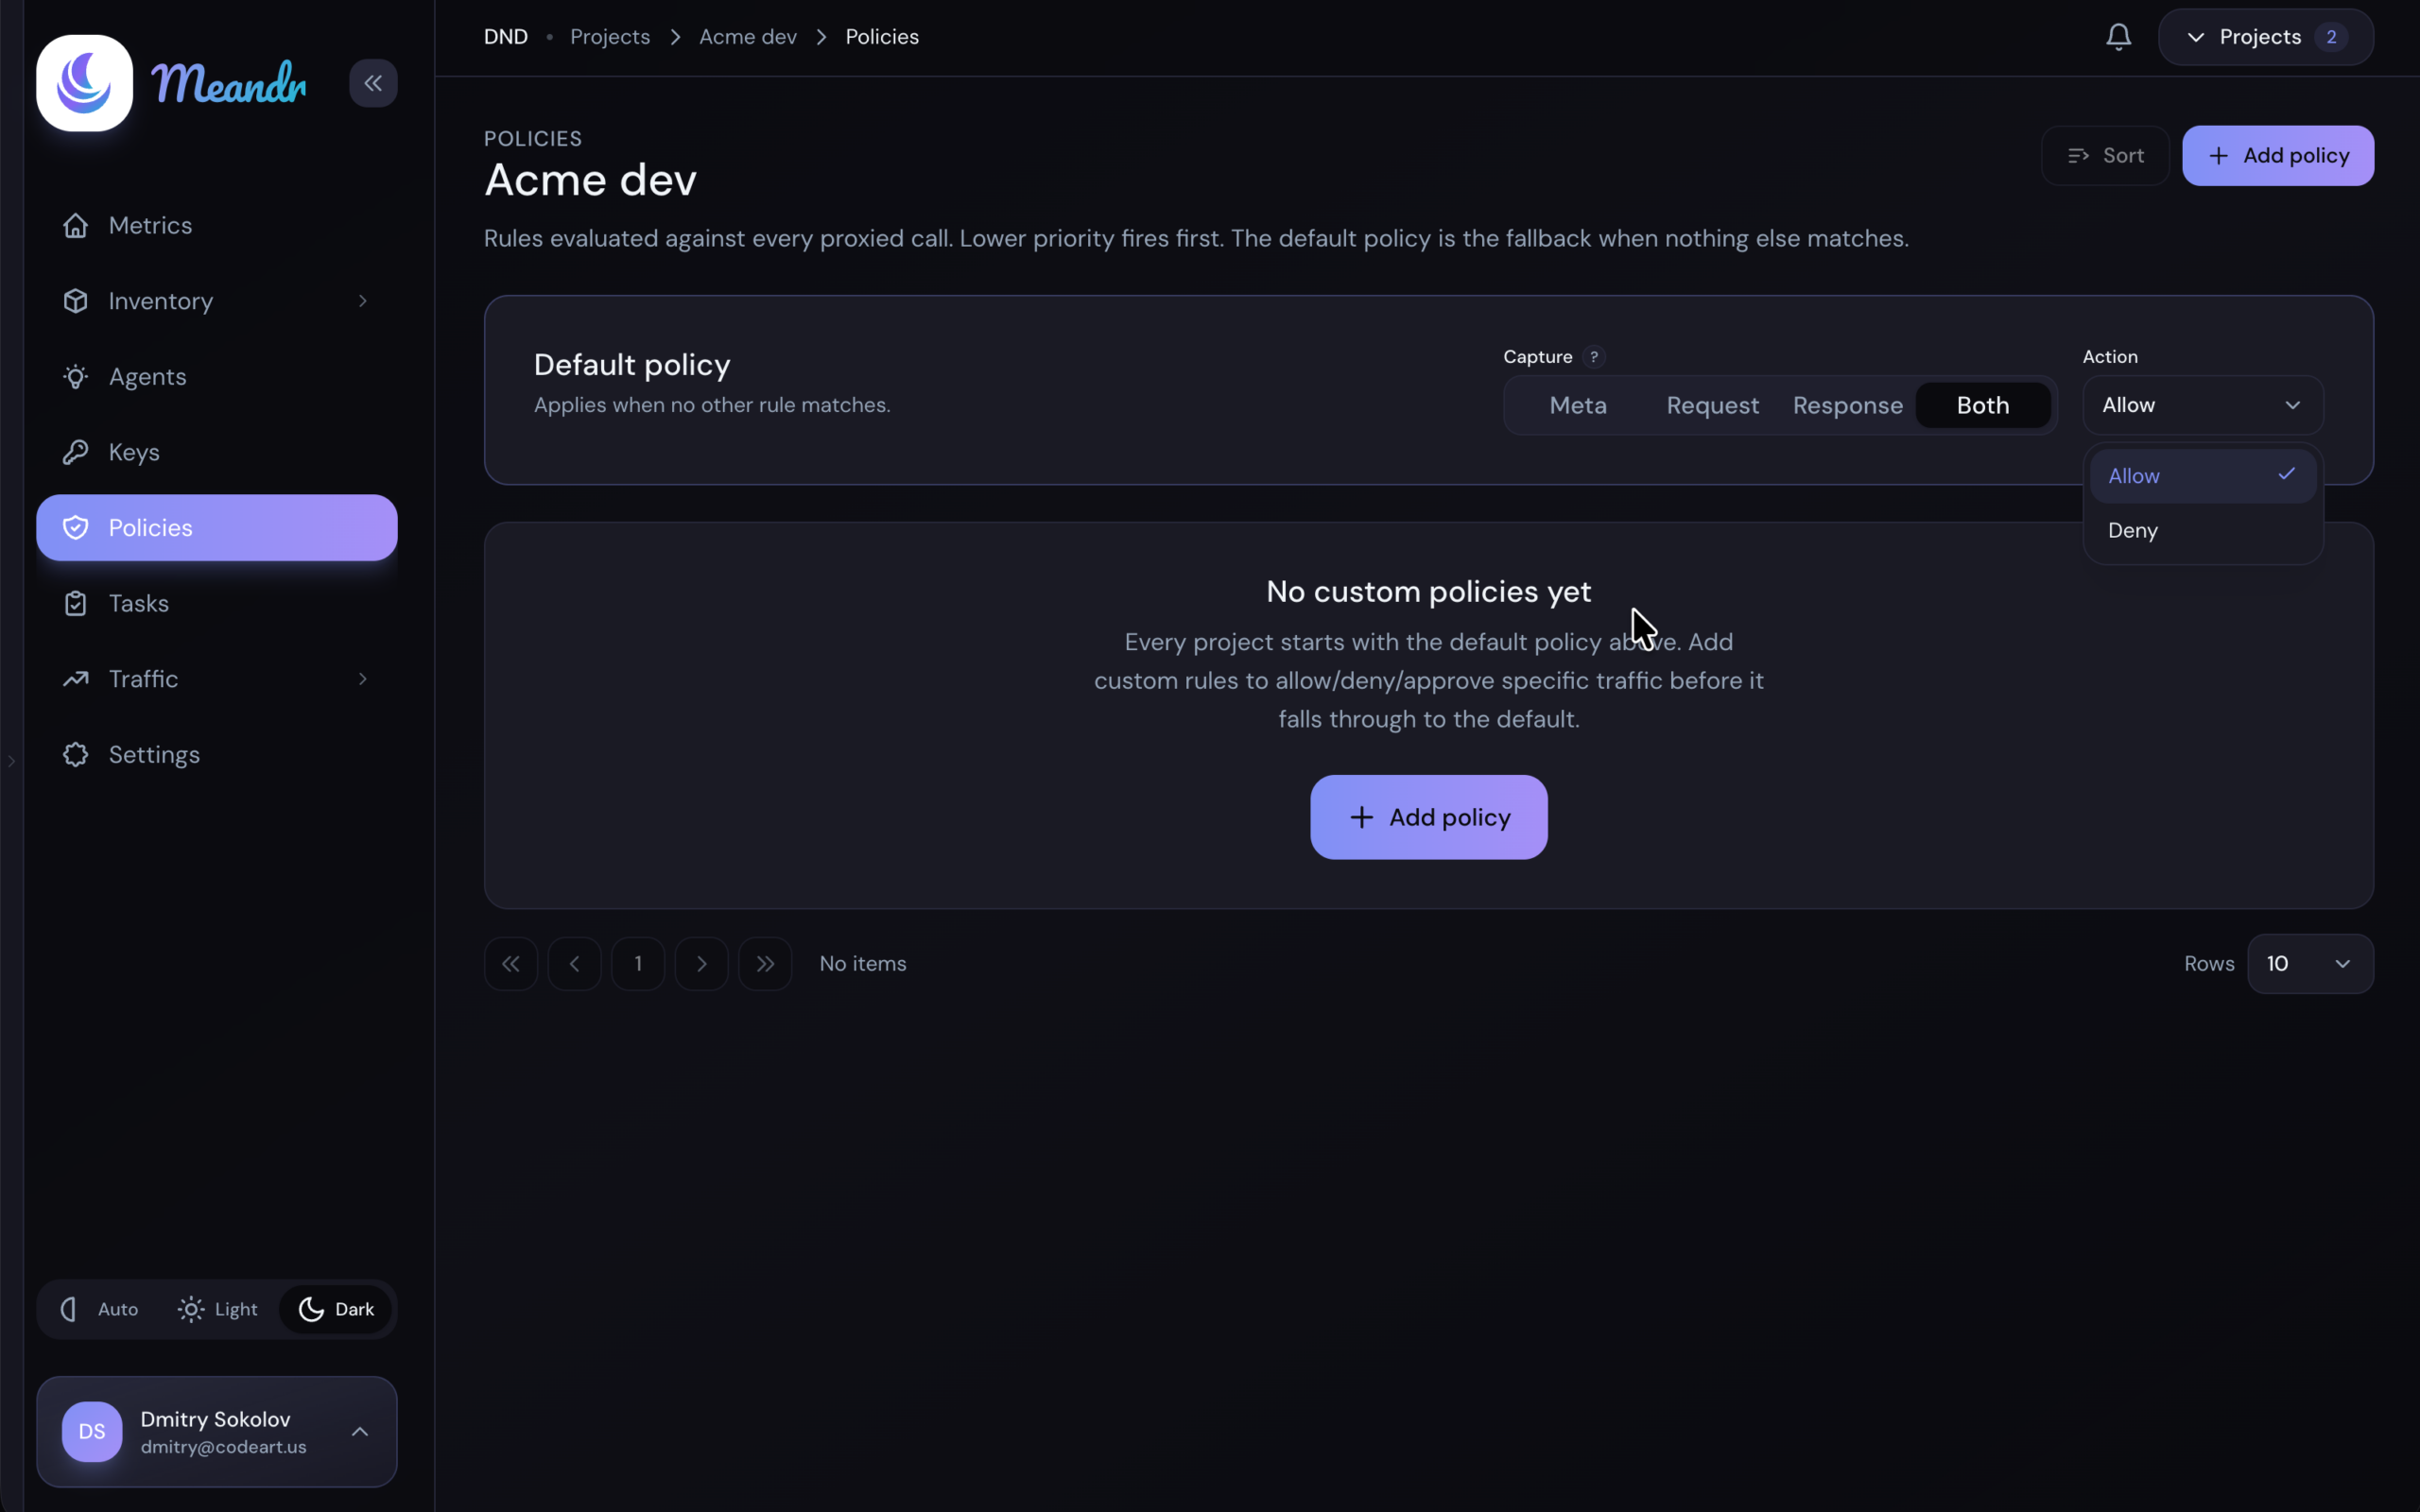
Importing a tool makes it available to the project; a policy decides whether an agent may actually see and call it. Every project starts with one default policy, and until it says otherwise your agent's tool list comes back empty — which looks exactly like a broken connection.
Open Policies in the project menu. You have two ways forward:
Just get moving — set the default policy to allow. Every imported tool becomes callable, which is what you want while you're still wiring things up.
Or be precise from the start — leave the default as it is and add a rule that allows just this agent and this server. That's the shape you'll want in production anyway, and it only takes a minute: Writing your first policy
Call a tool
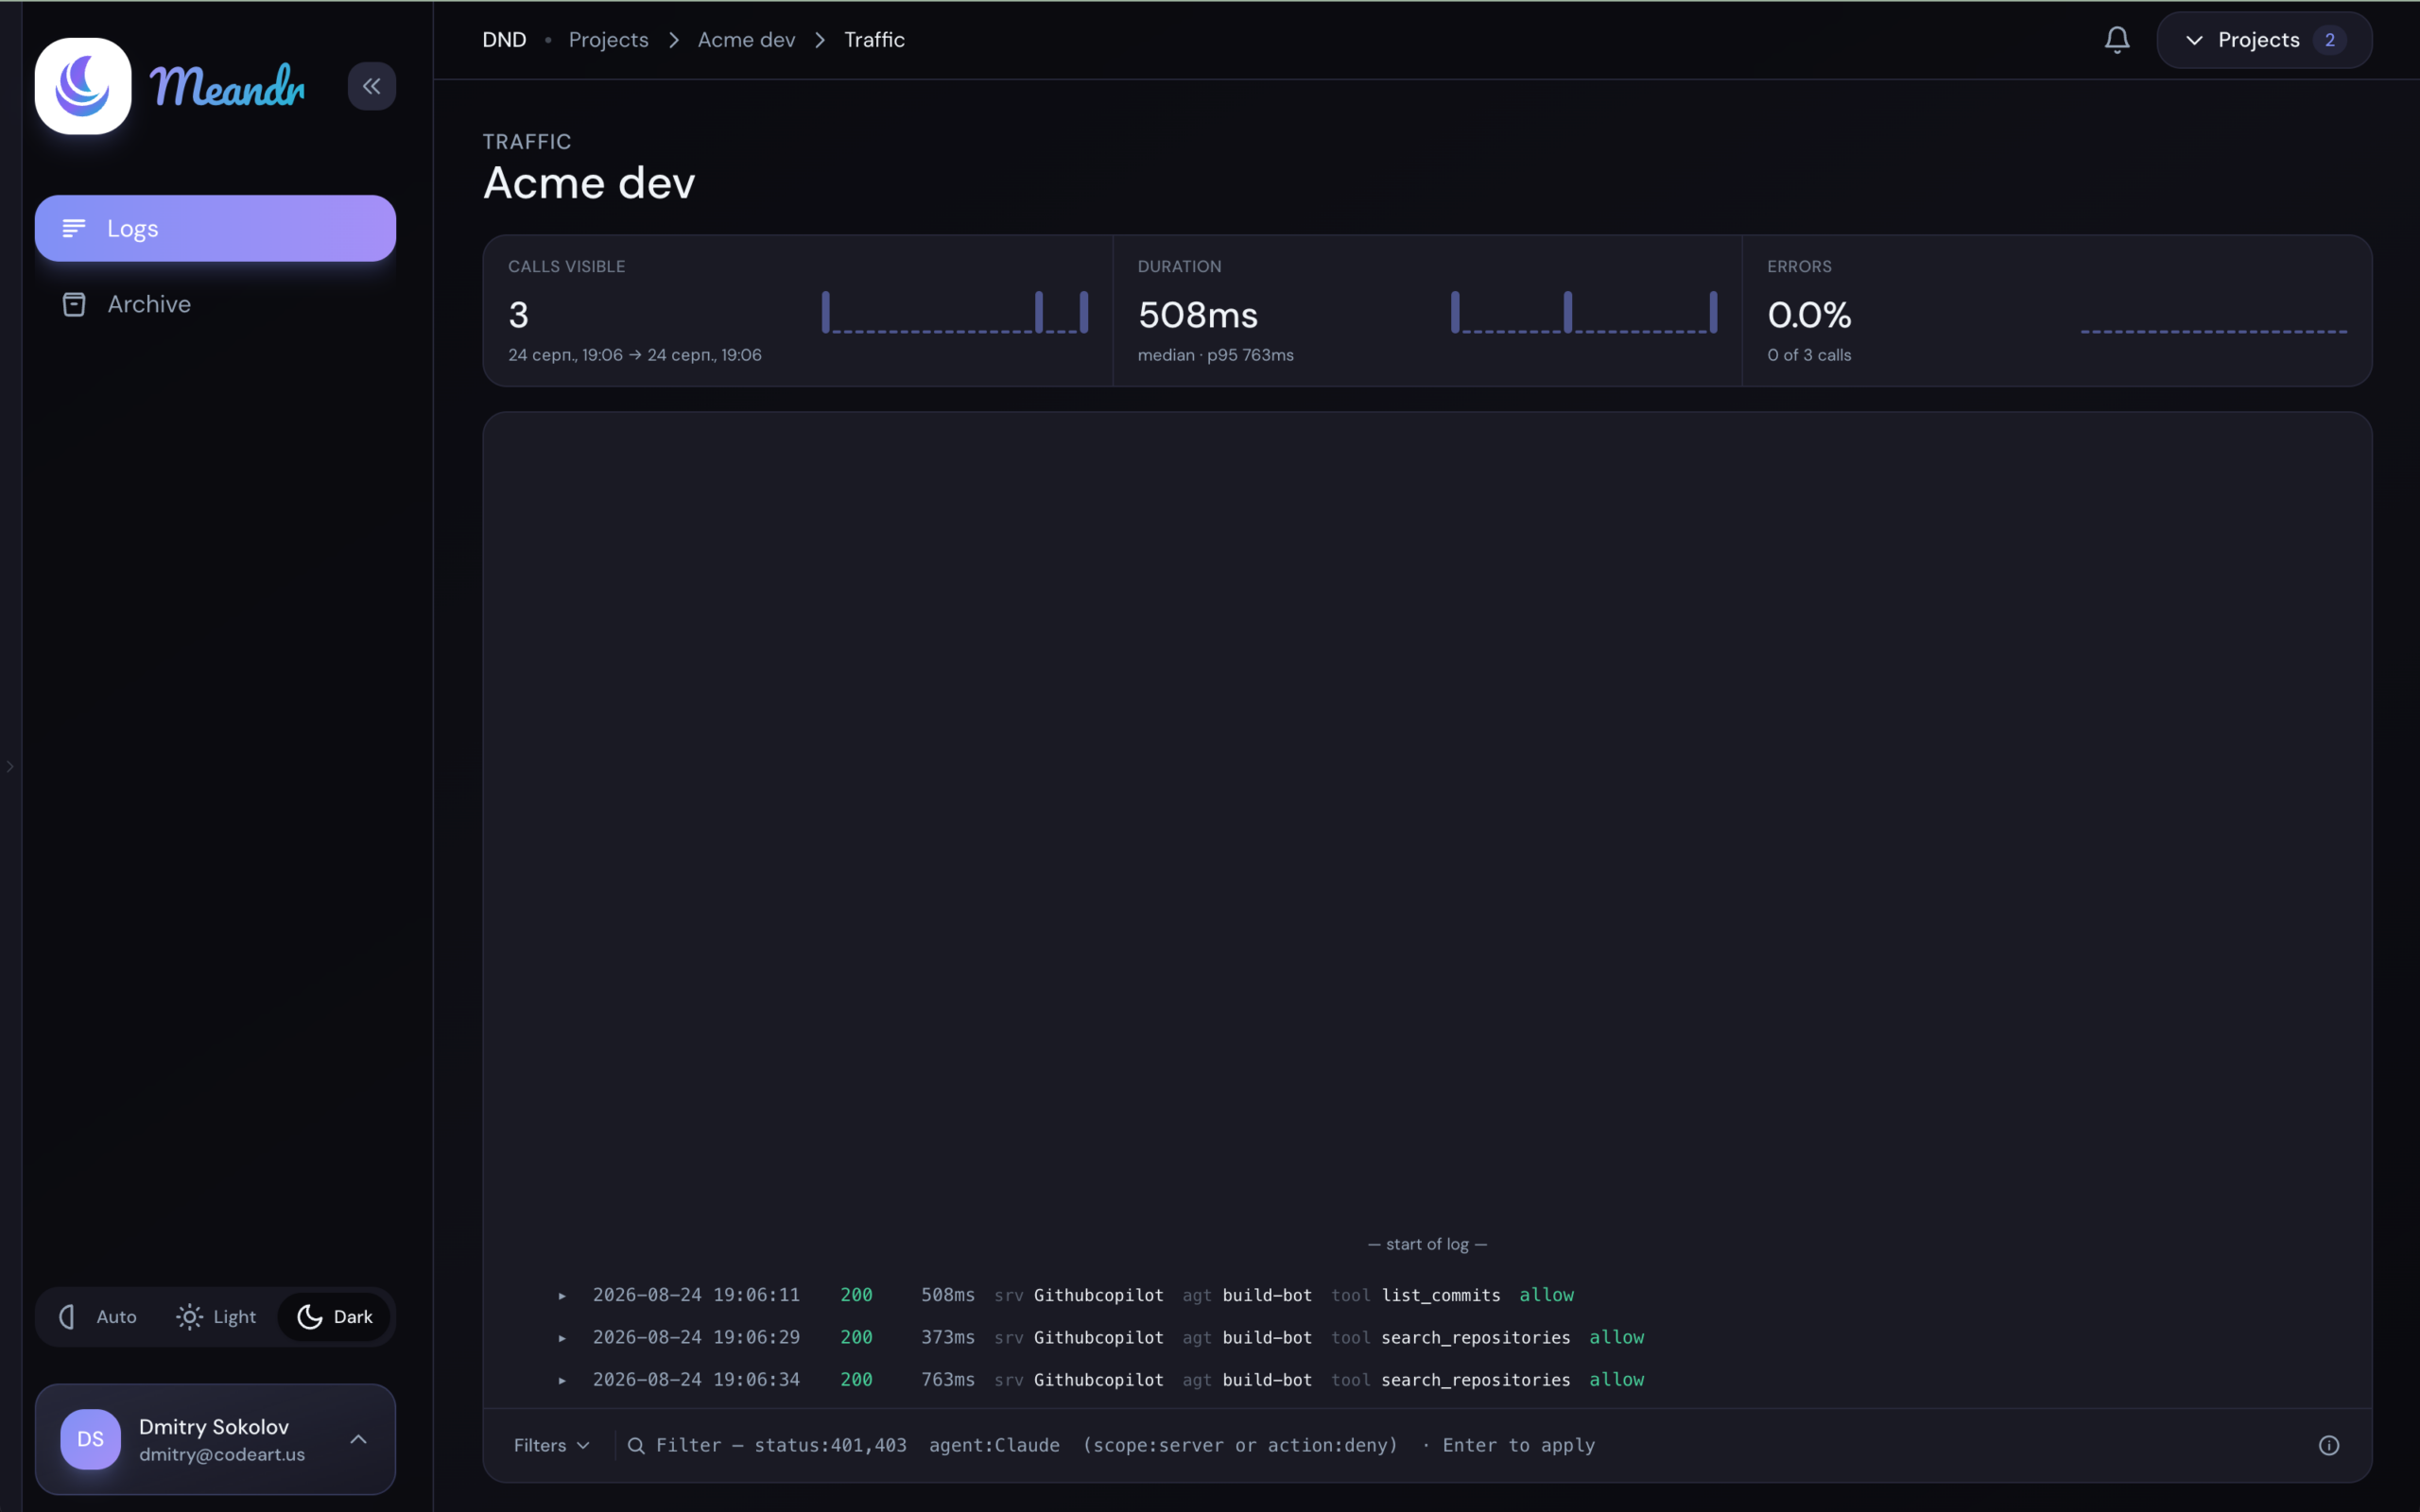
Restart your client so it re-reads the config, then ask your agent to use one of the tools you imported. Open the project and pick Traffic in its left menu — the call is there, with the rule that decided it. The per-call log lives inside Traffic too. That's your setup working.
Next steps
Connect a tool server
Add the MCP servers your agents should reach, and choose how Meandr signs in to each.
Write your first policy
Decide what your agents may do — allow, deny, or require a human's approval.
That's the whole integration.
Point your agent at one endpoint and you're governed in minutes — no code changes, no proxy to run.
Get startedQuestions? Email us